Ornaments

It’s that time of the year! Get out the ornaments it’s time to celebrate. Every year I always like to add a special handmade ornament to out tree. This year I made the sweetest ornaments out of fabric from my collection LullaBee. They are the perfect project to make with your kids or even while you are watching your favorite series or movie. Once you have everything ready the process of weaving the fabric on top the plastic loop is quite satisfying. Let’s get started.

Here are the supplies you will need.
Different fabrics that you plan on using
Ruler
Rotary cutter (I like to use the pinking zig zag edge)
Plastic hoops 2inch
Glue Stick
Pins
Small Mat to pin down the hoop
Piece of ribbon
Iron (I’m using my Oilso M2 but I’m anxiously waiting for my new M3Pro)
Small scissors

Start off by cutting 1.5inch strips WOF of each fabric you will be using to make however many ornaments you would like.
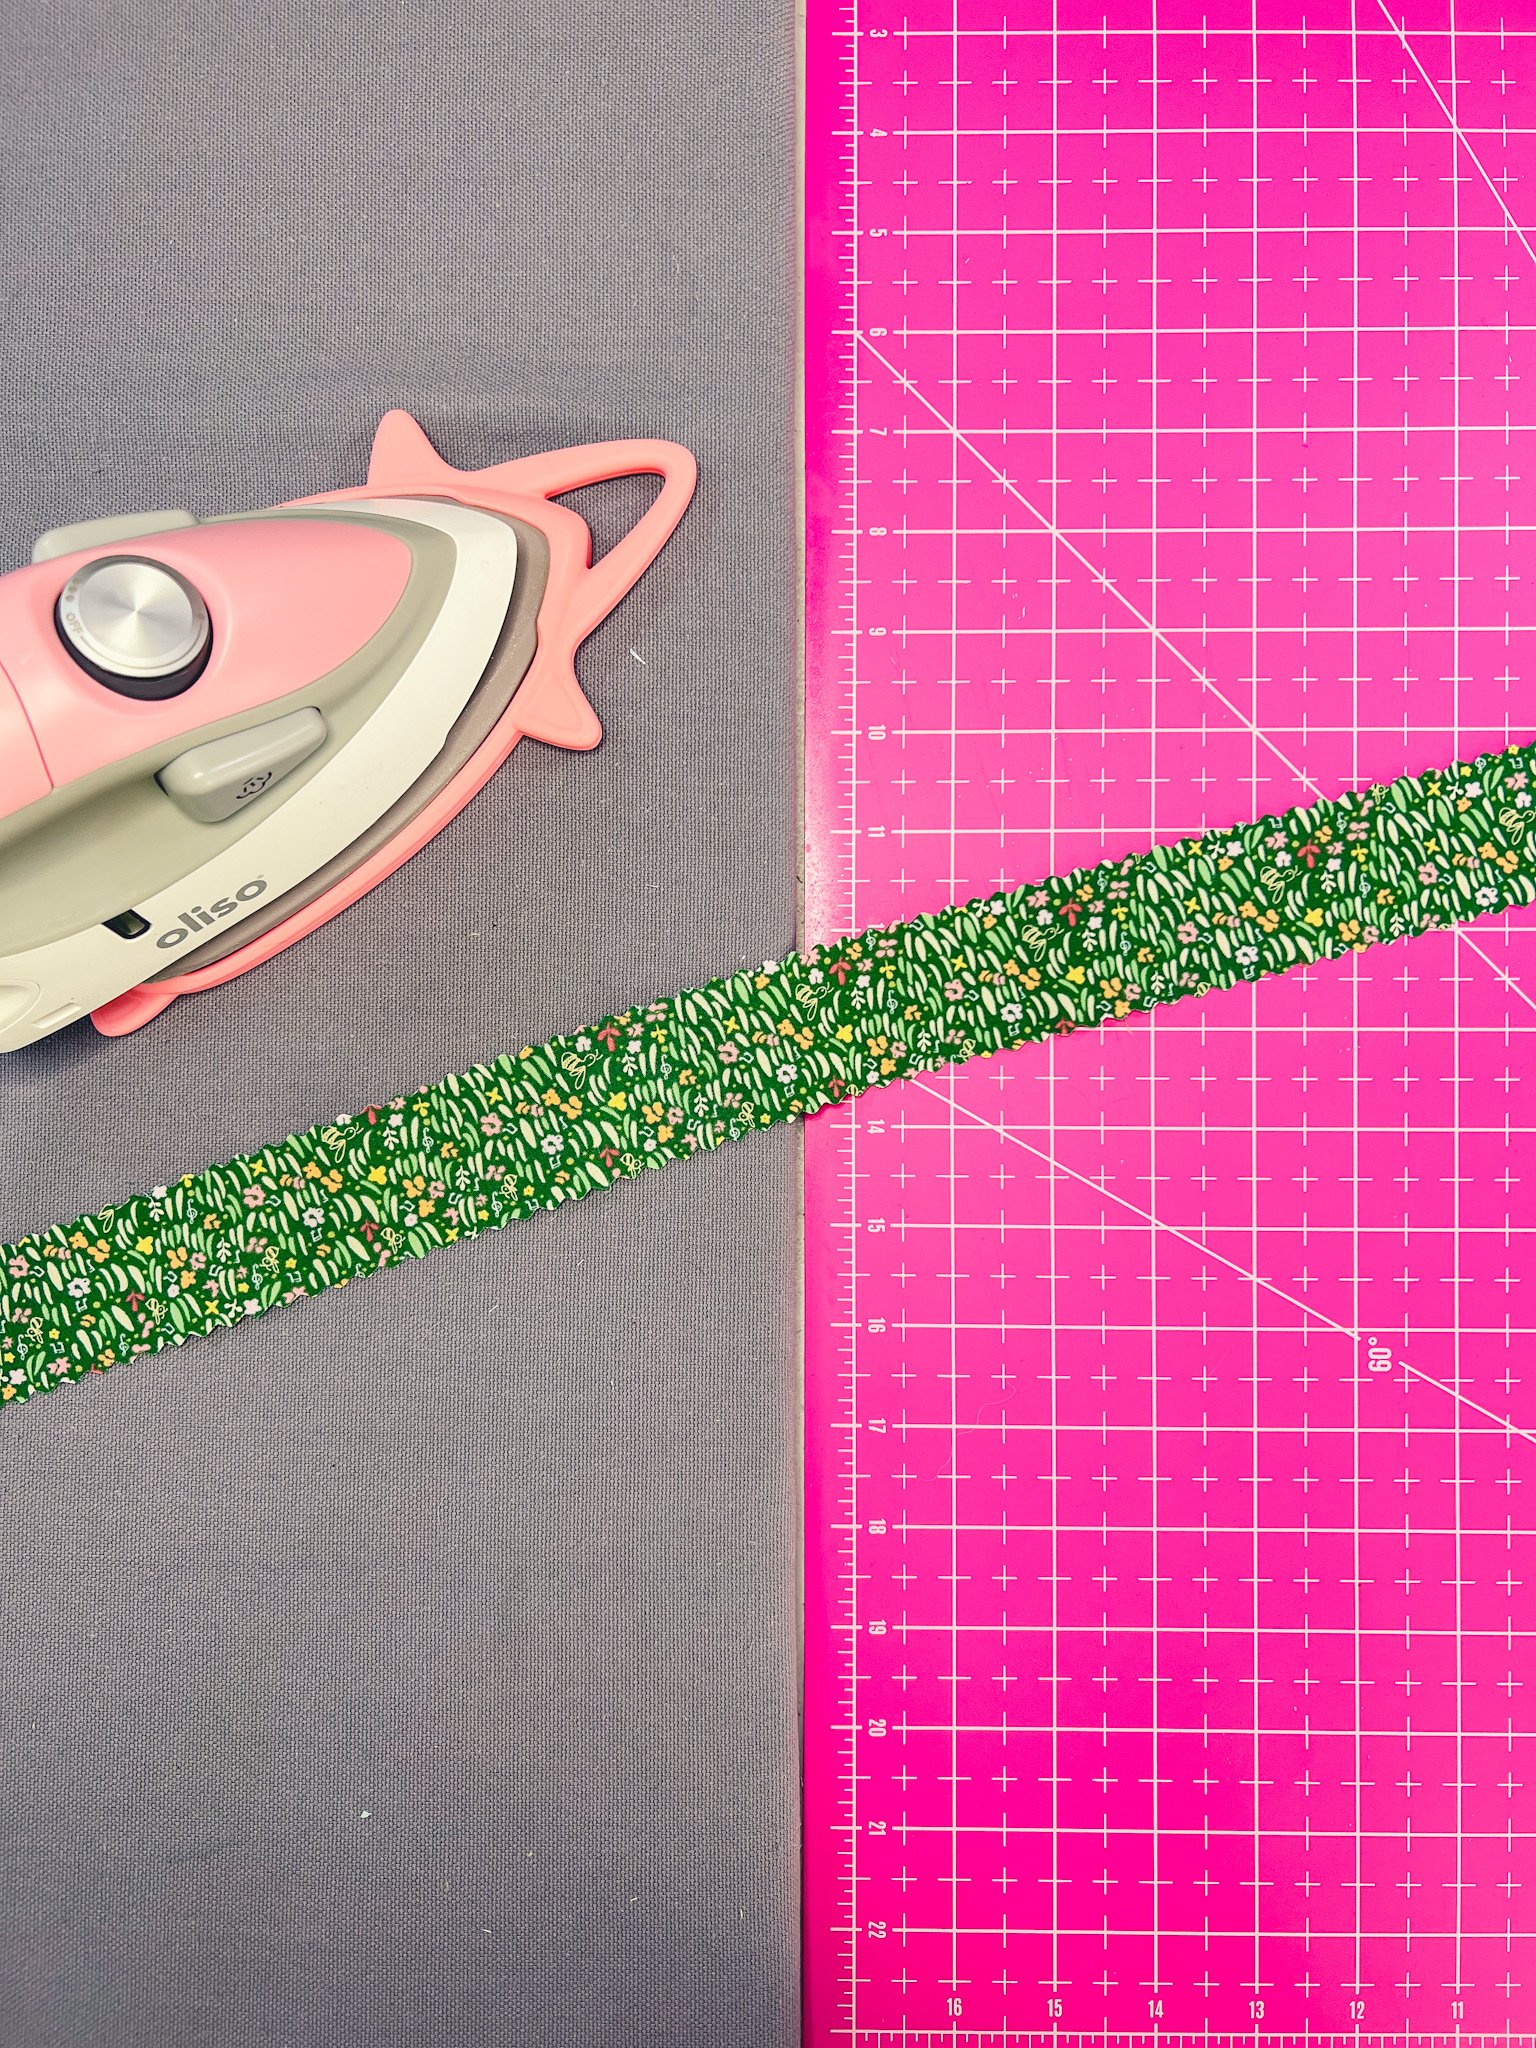
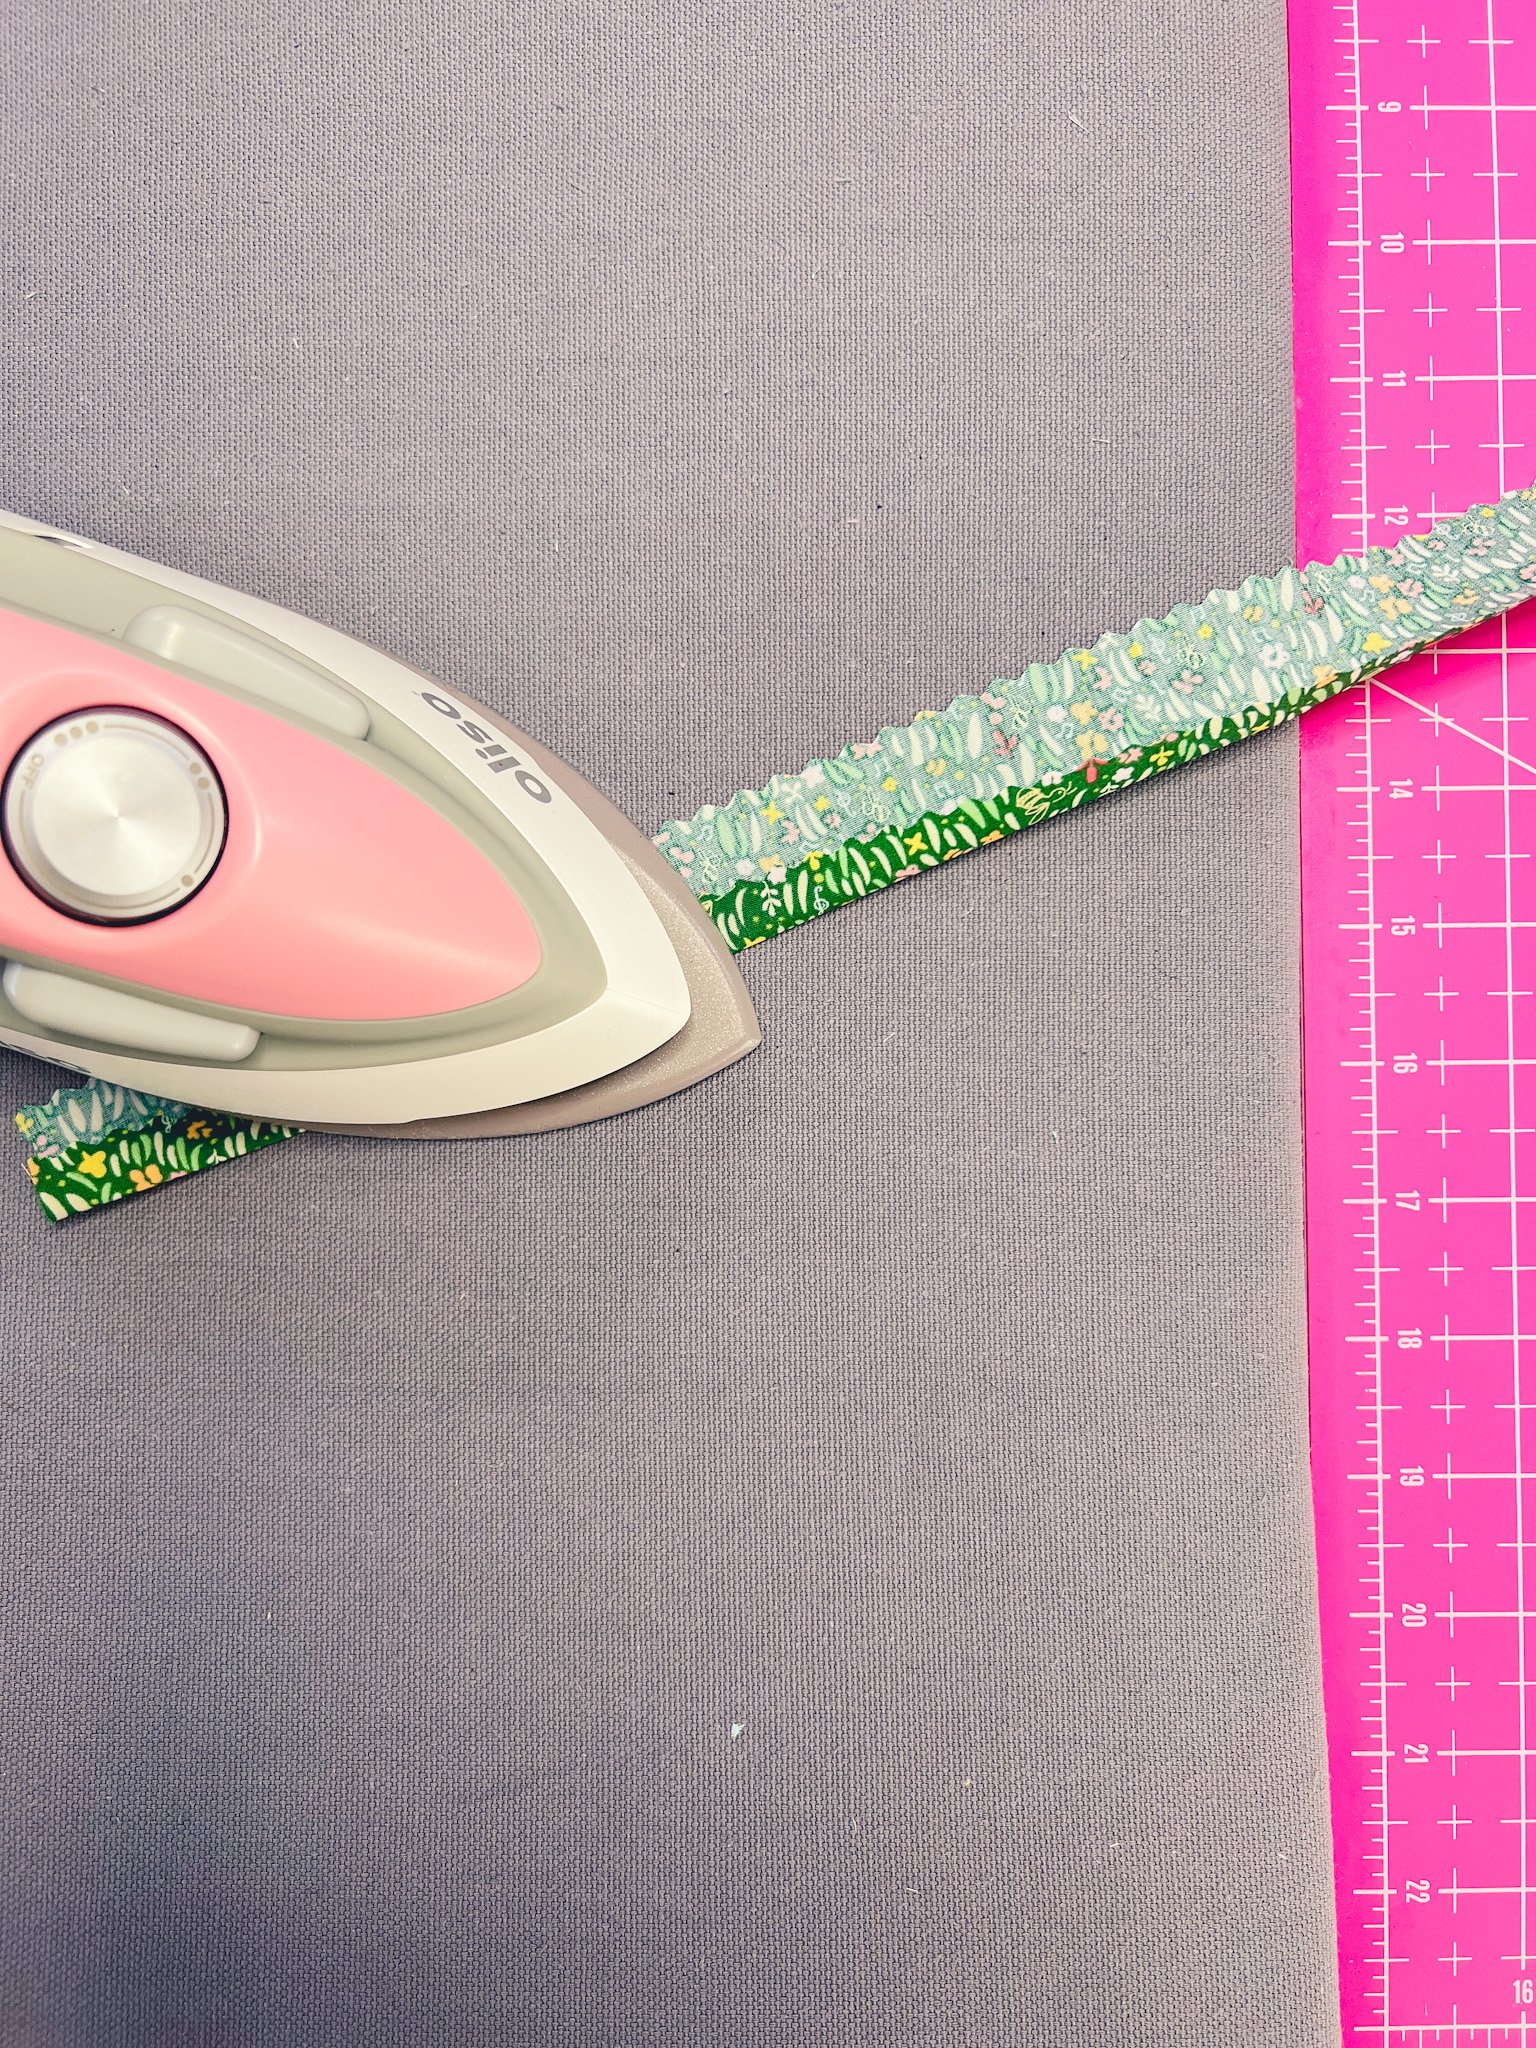
Iron it out. Then fold one end to the middle and iron in place, do this all the way thru the strip of fabric. Fold over once more and iron it all again. You will end up with a thing strip that has been folded twice to make a ribbon like strip.

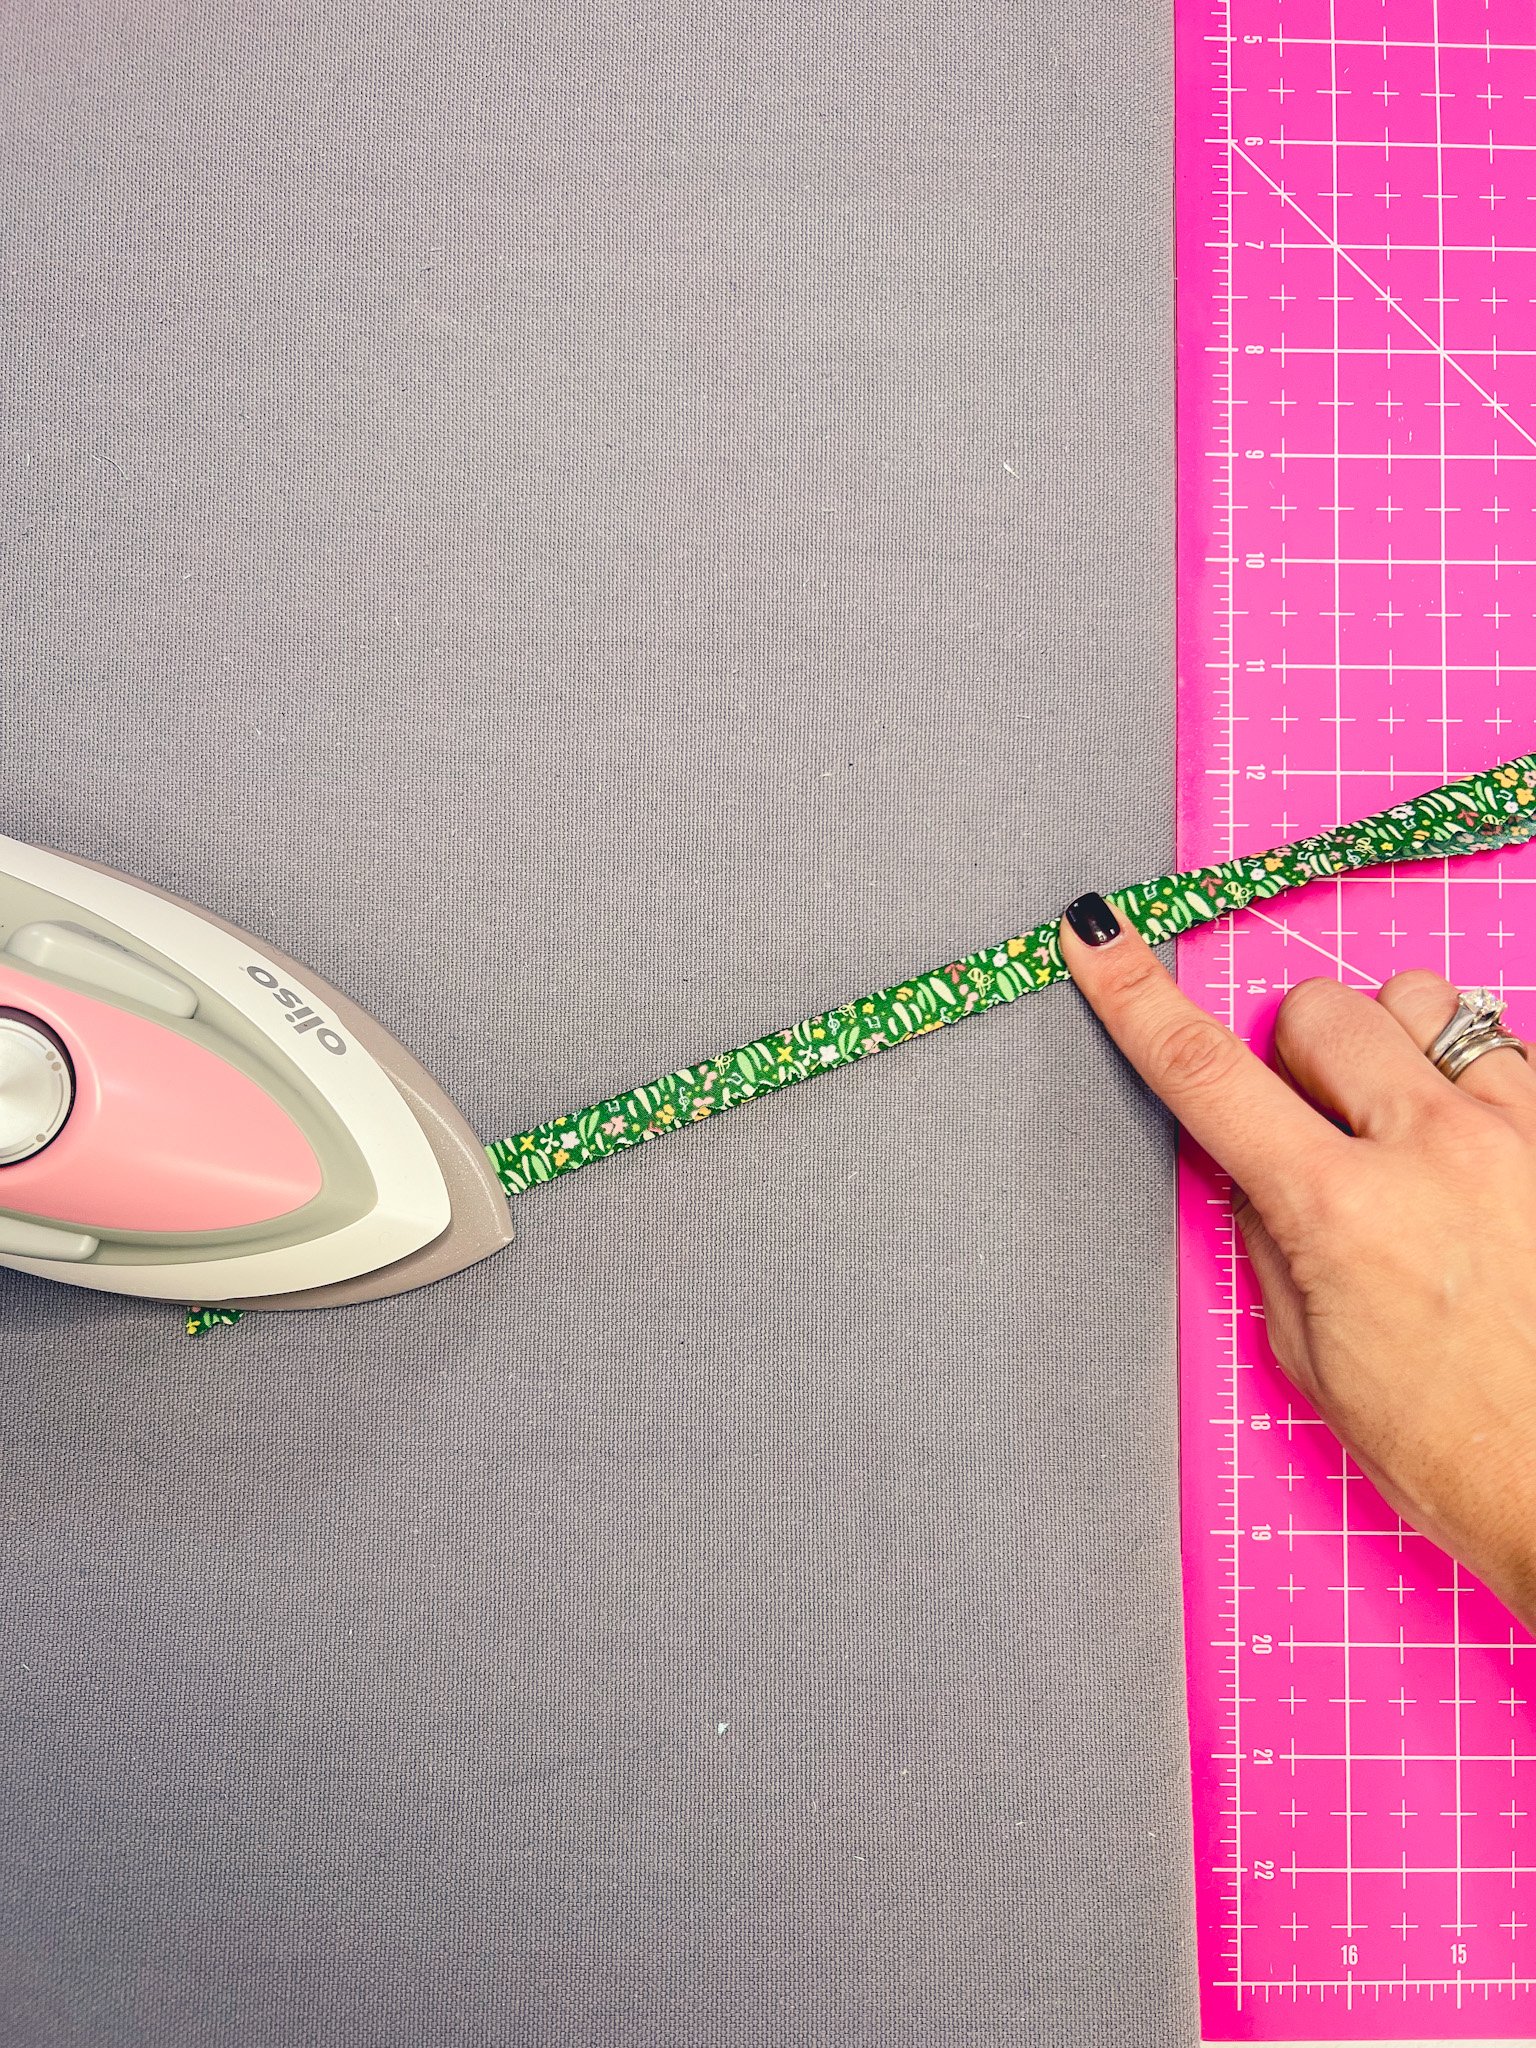
Time to get the glue stick and glue down the first fold of the strip.. Make sure that secures down in place before moving down the strip.
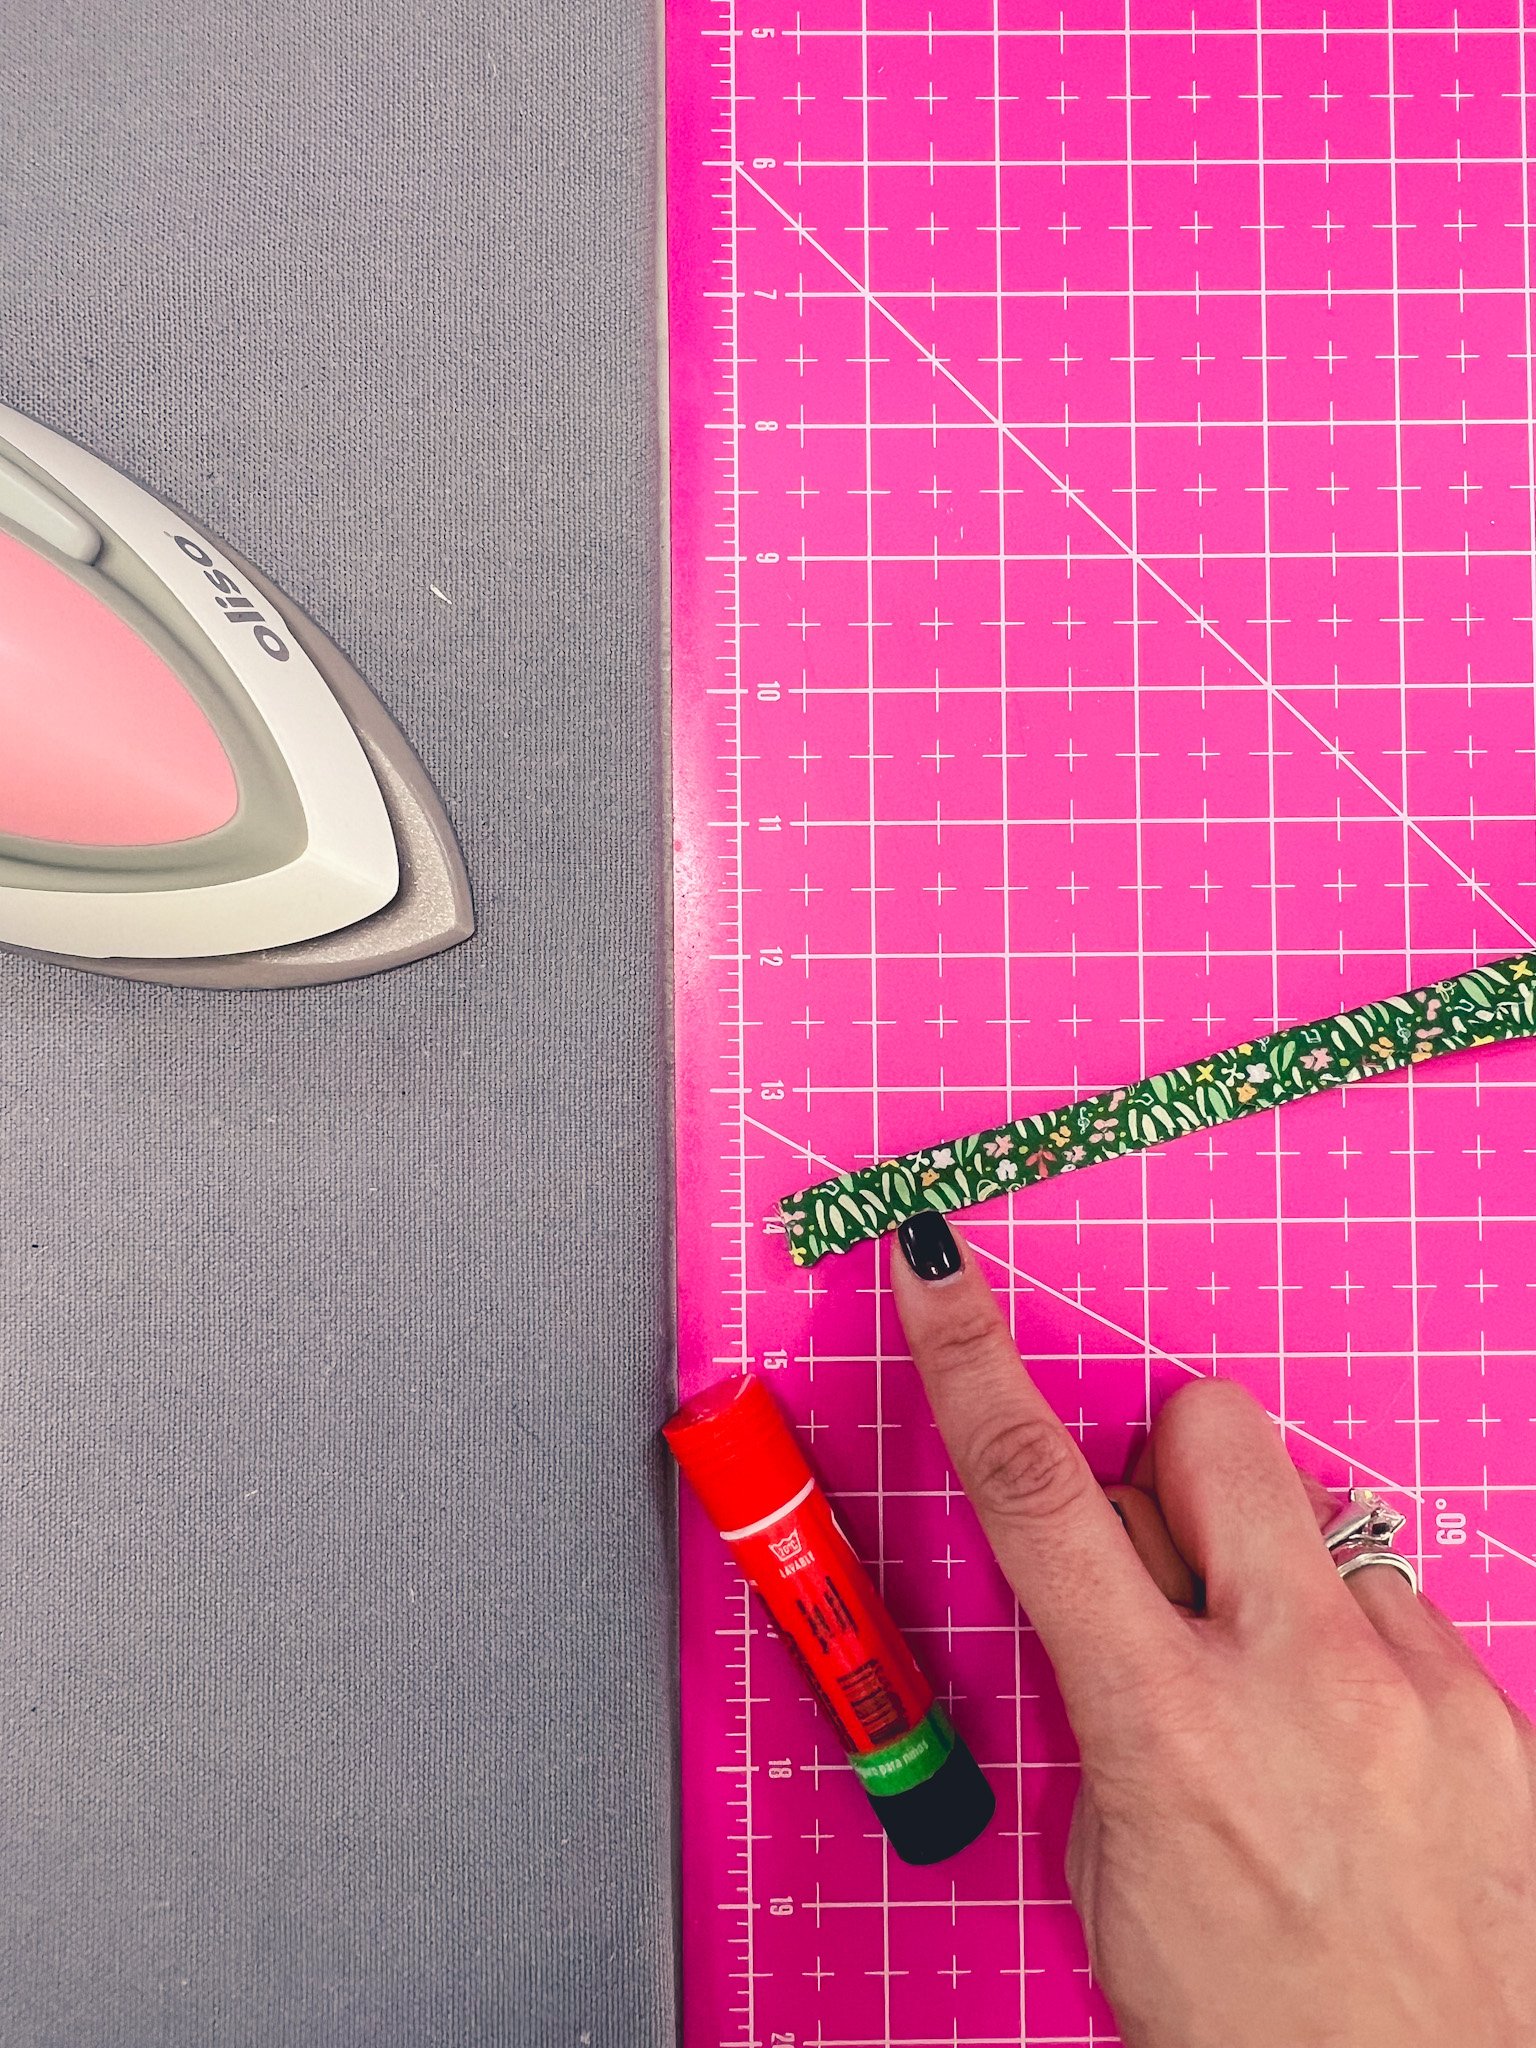
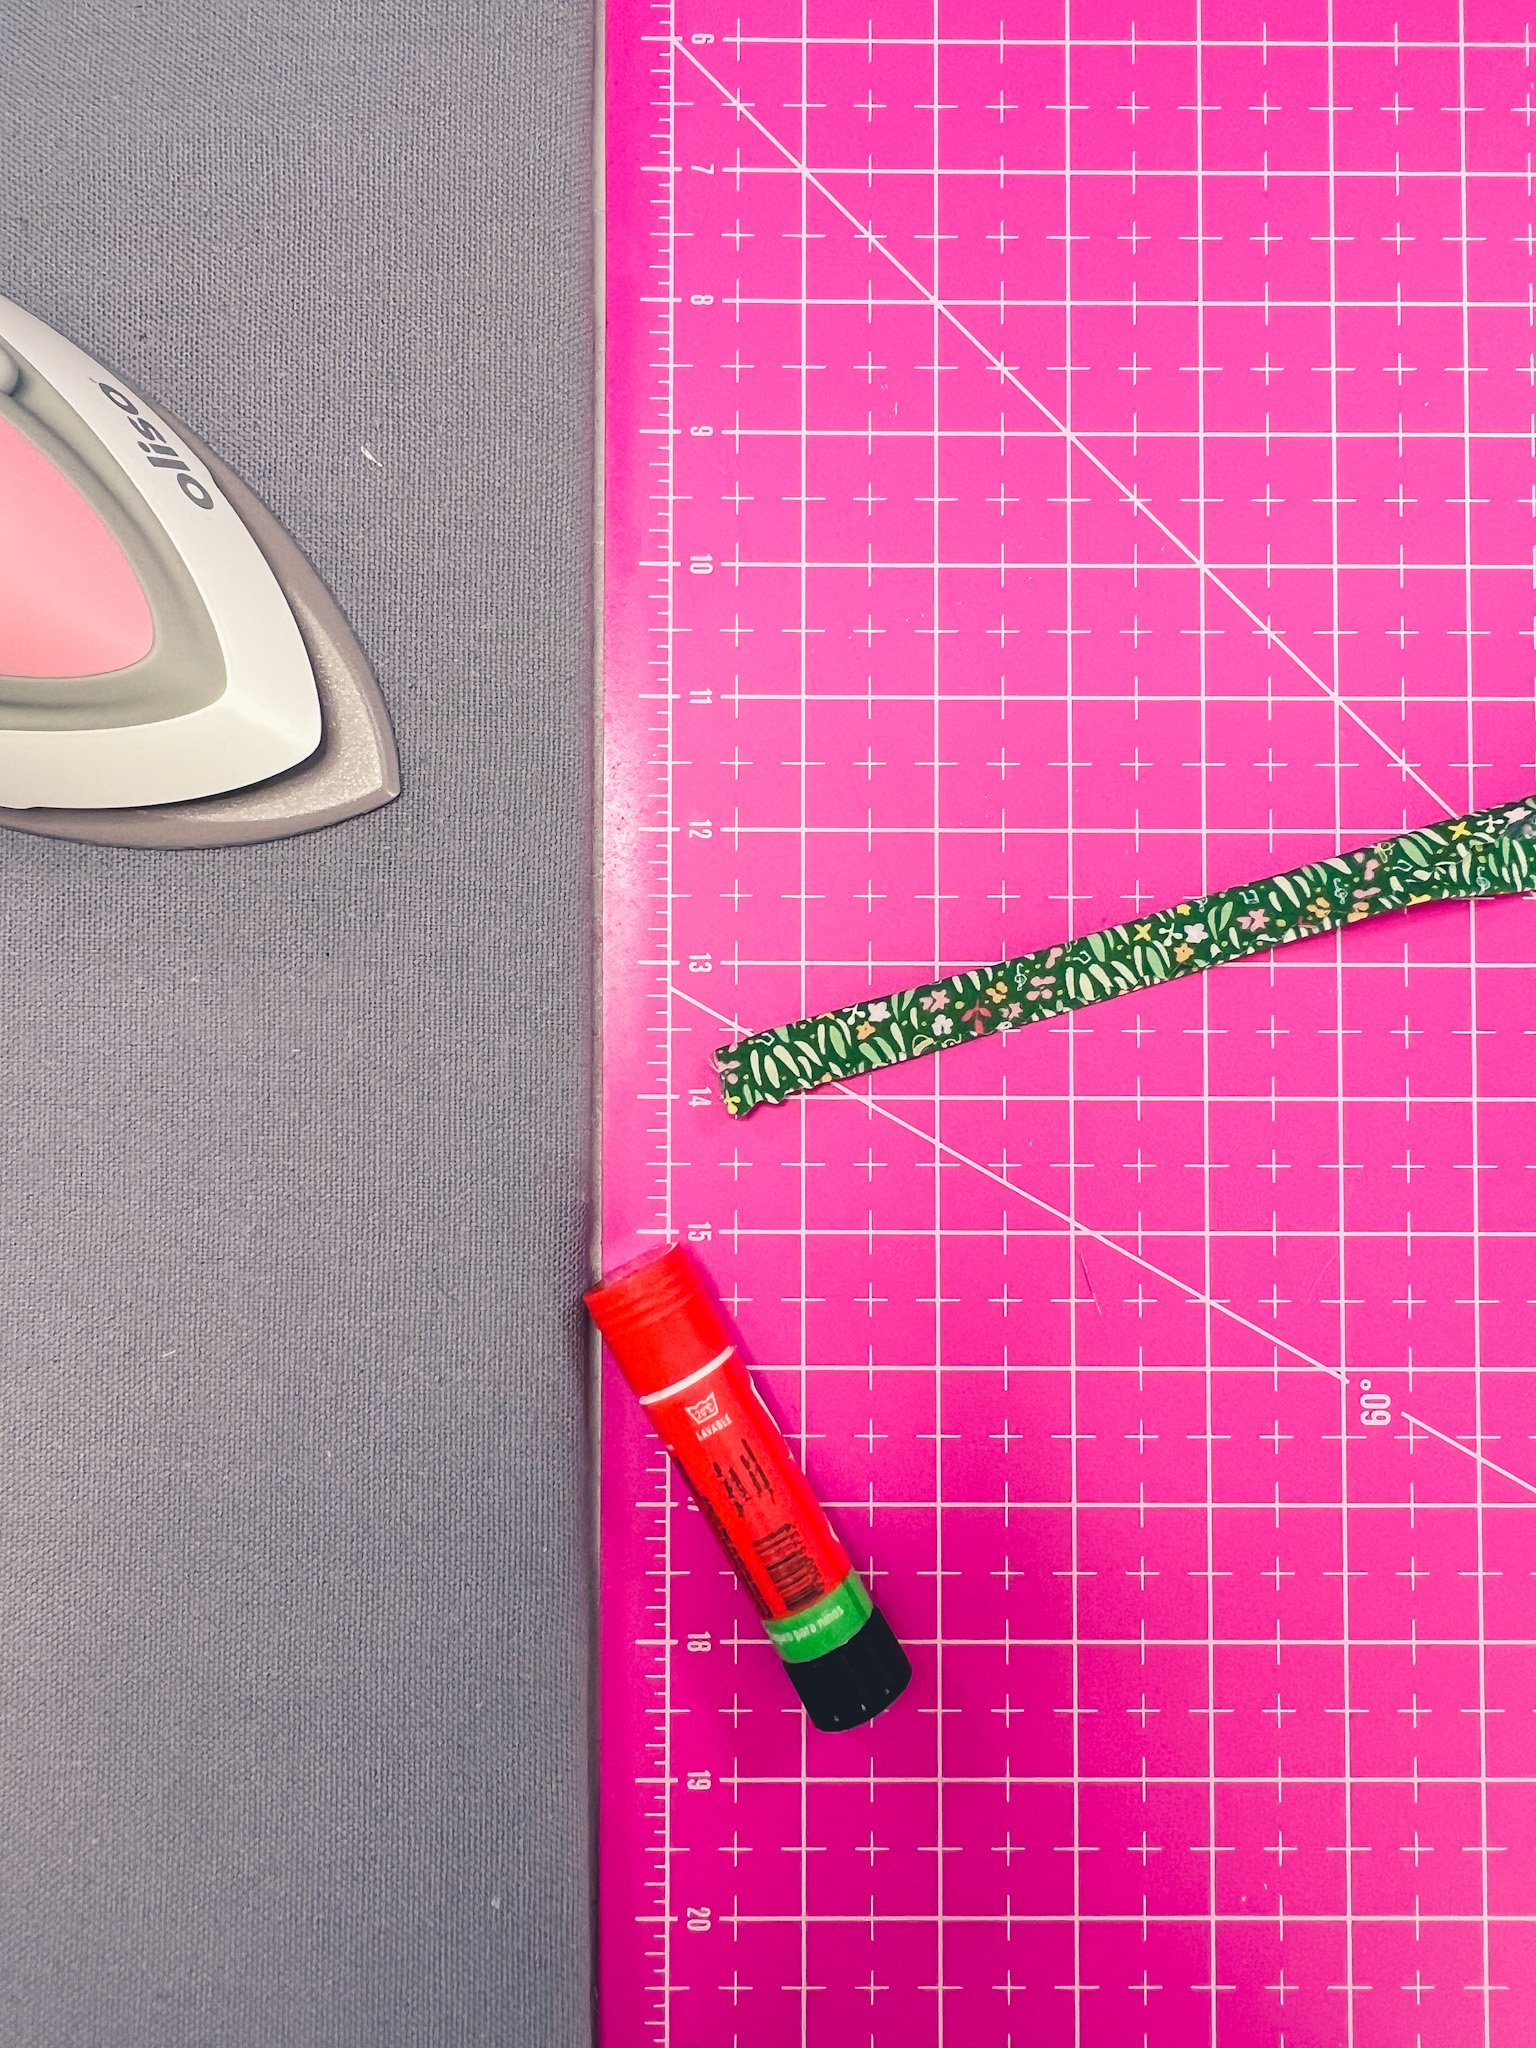
Glue down the second side of the strip and once again make sure its secure in place before you go down all of the fabric. You will end up with a “ribbon” of folded fabric. Repeat this with the different fabric strips you will be using for all your ornaments.
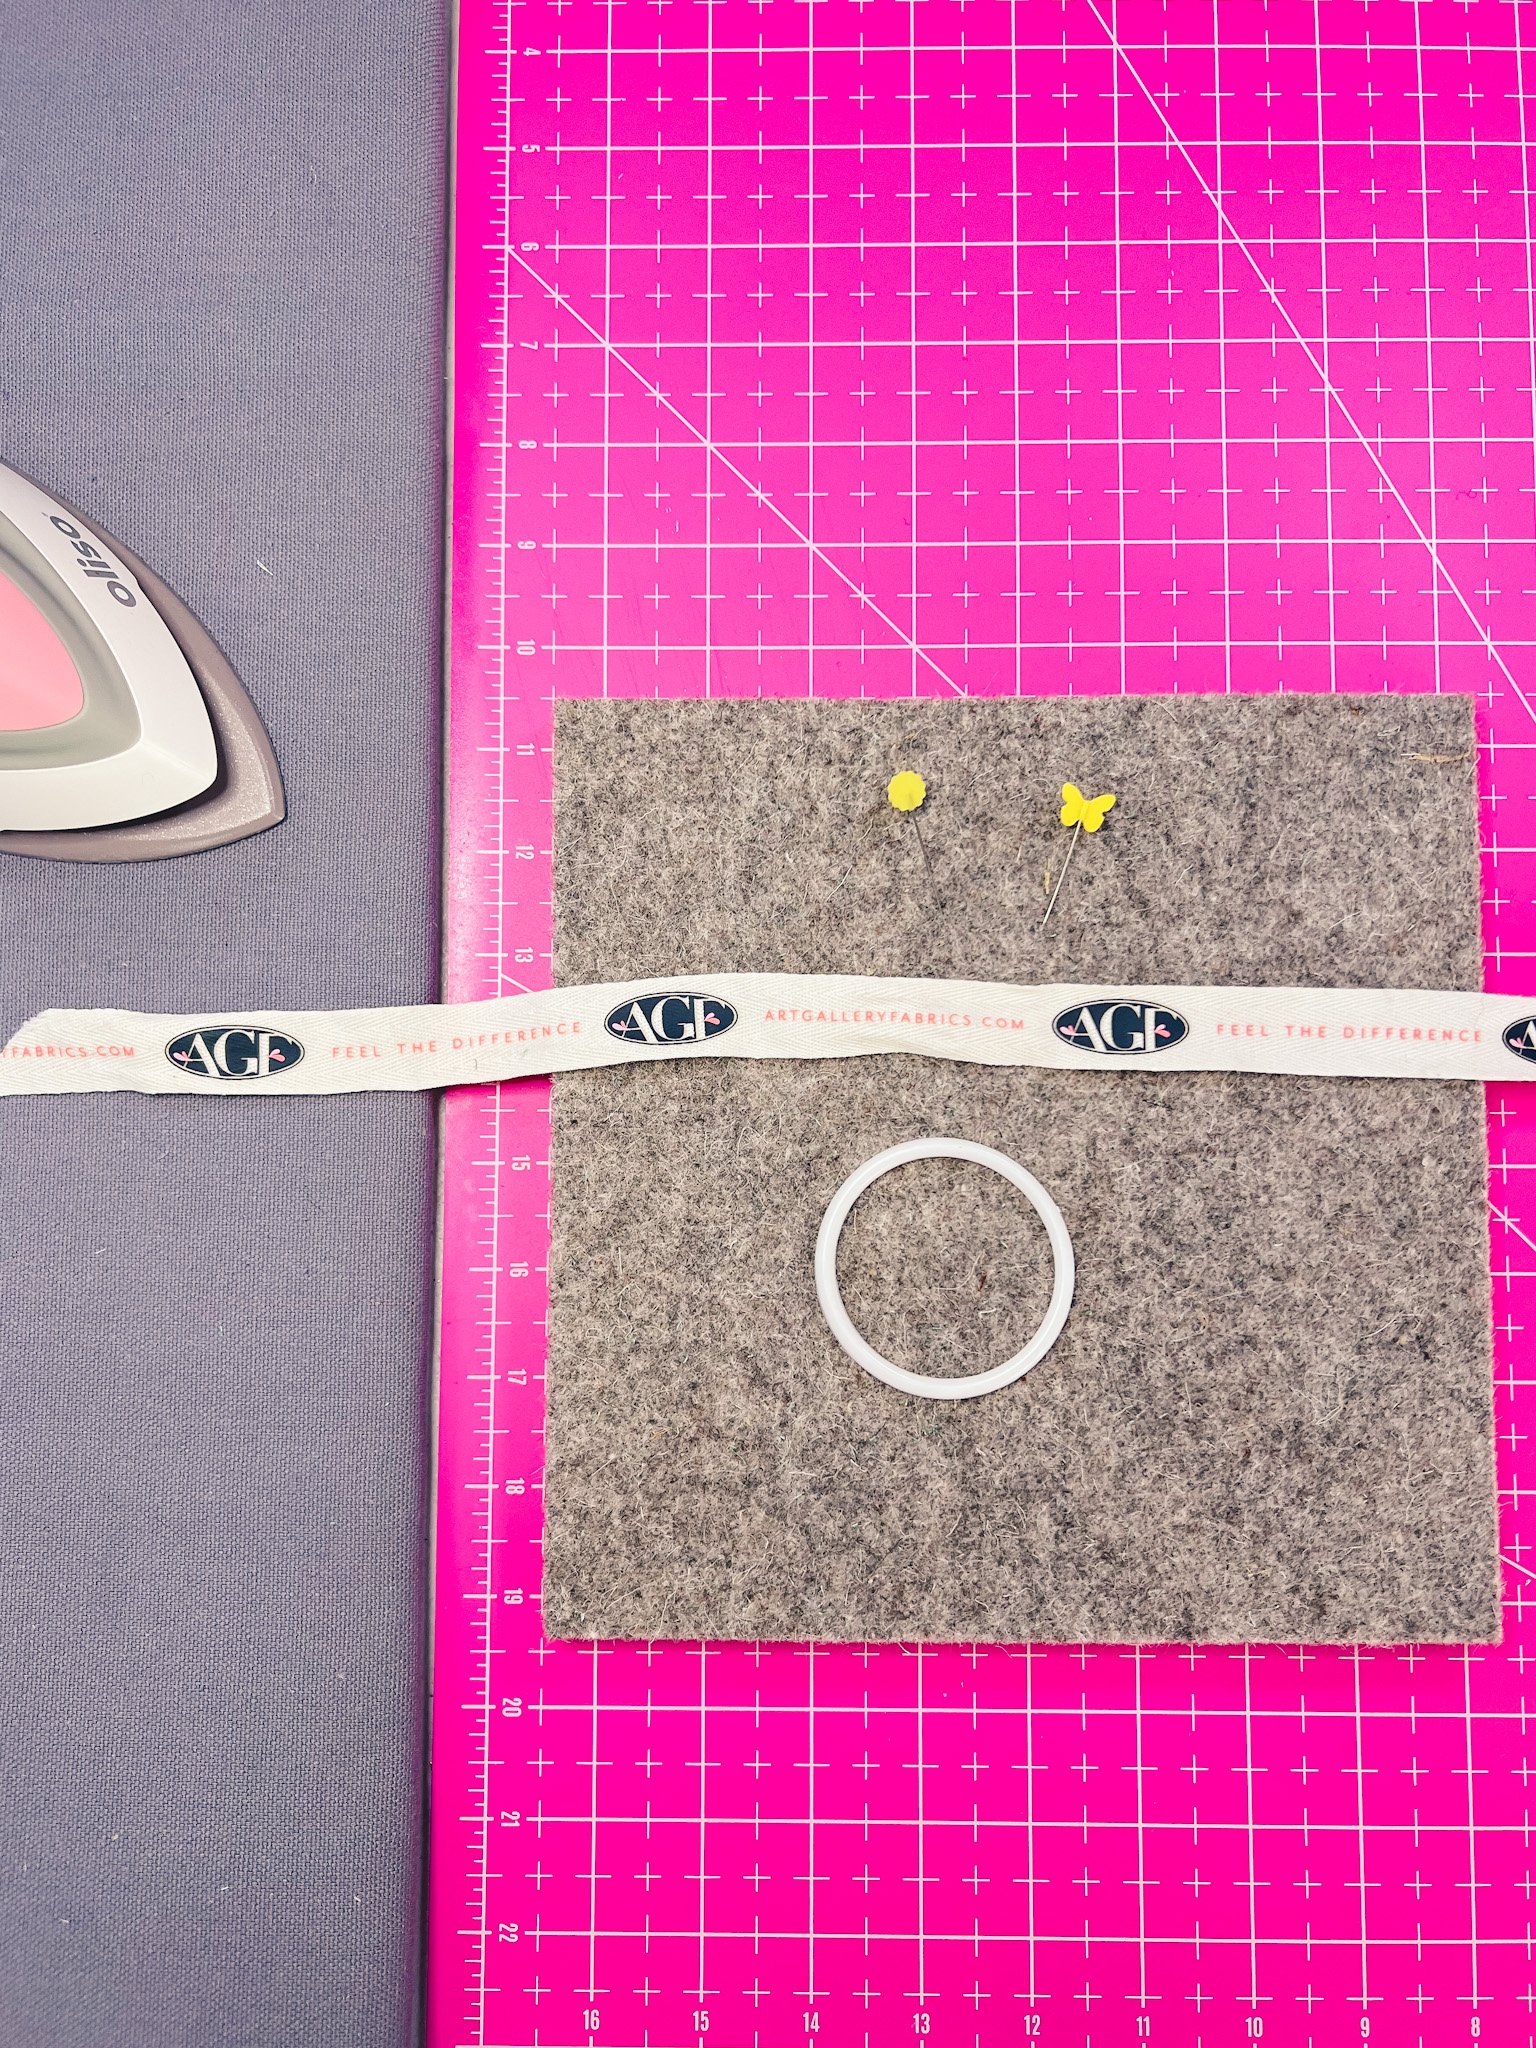
Now you will need your small mat, pins, plastic loop and ribbon. Thread the ribbon thru and tie a knot at the end. Pin this down as shown with two pins.
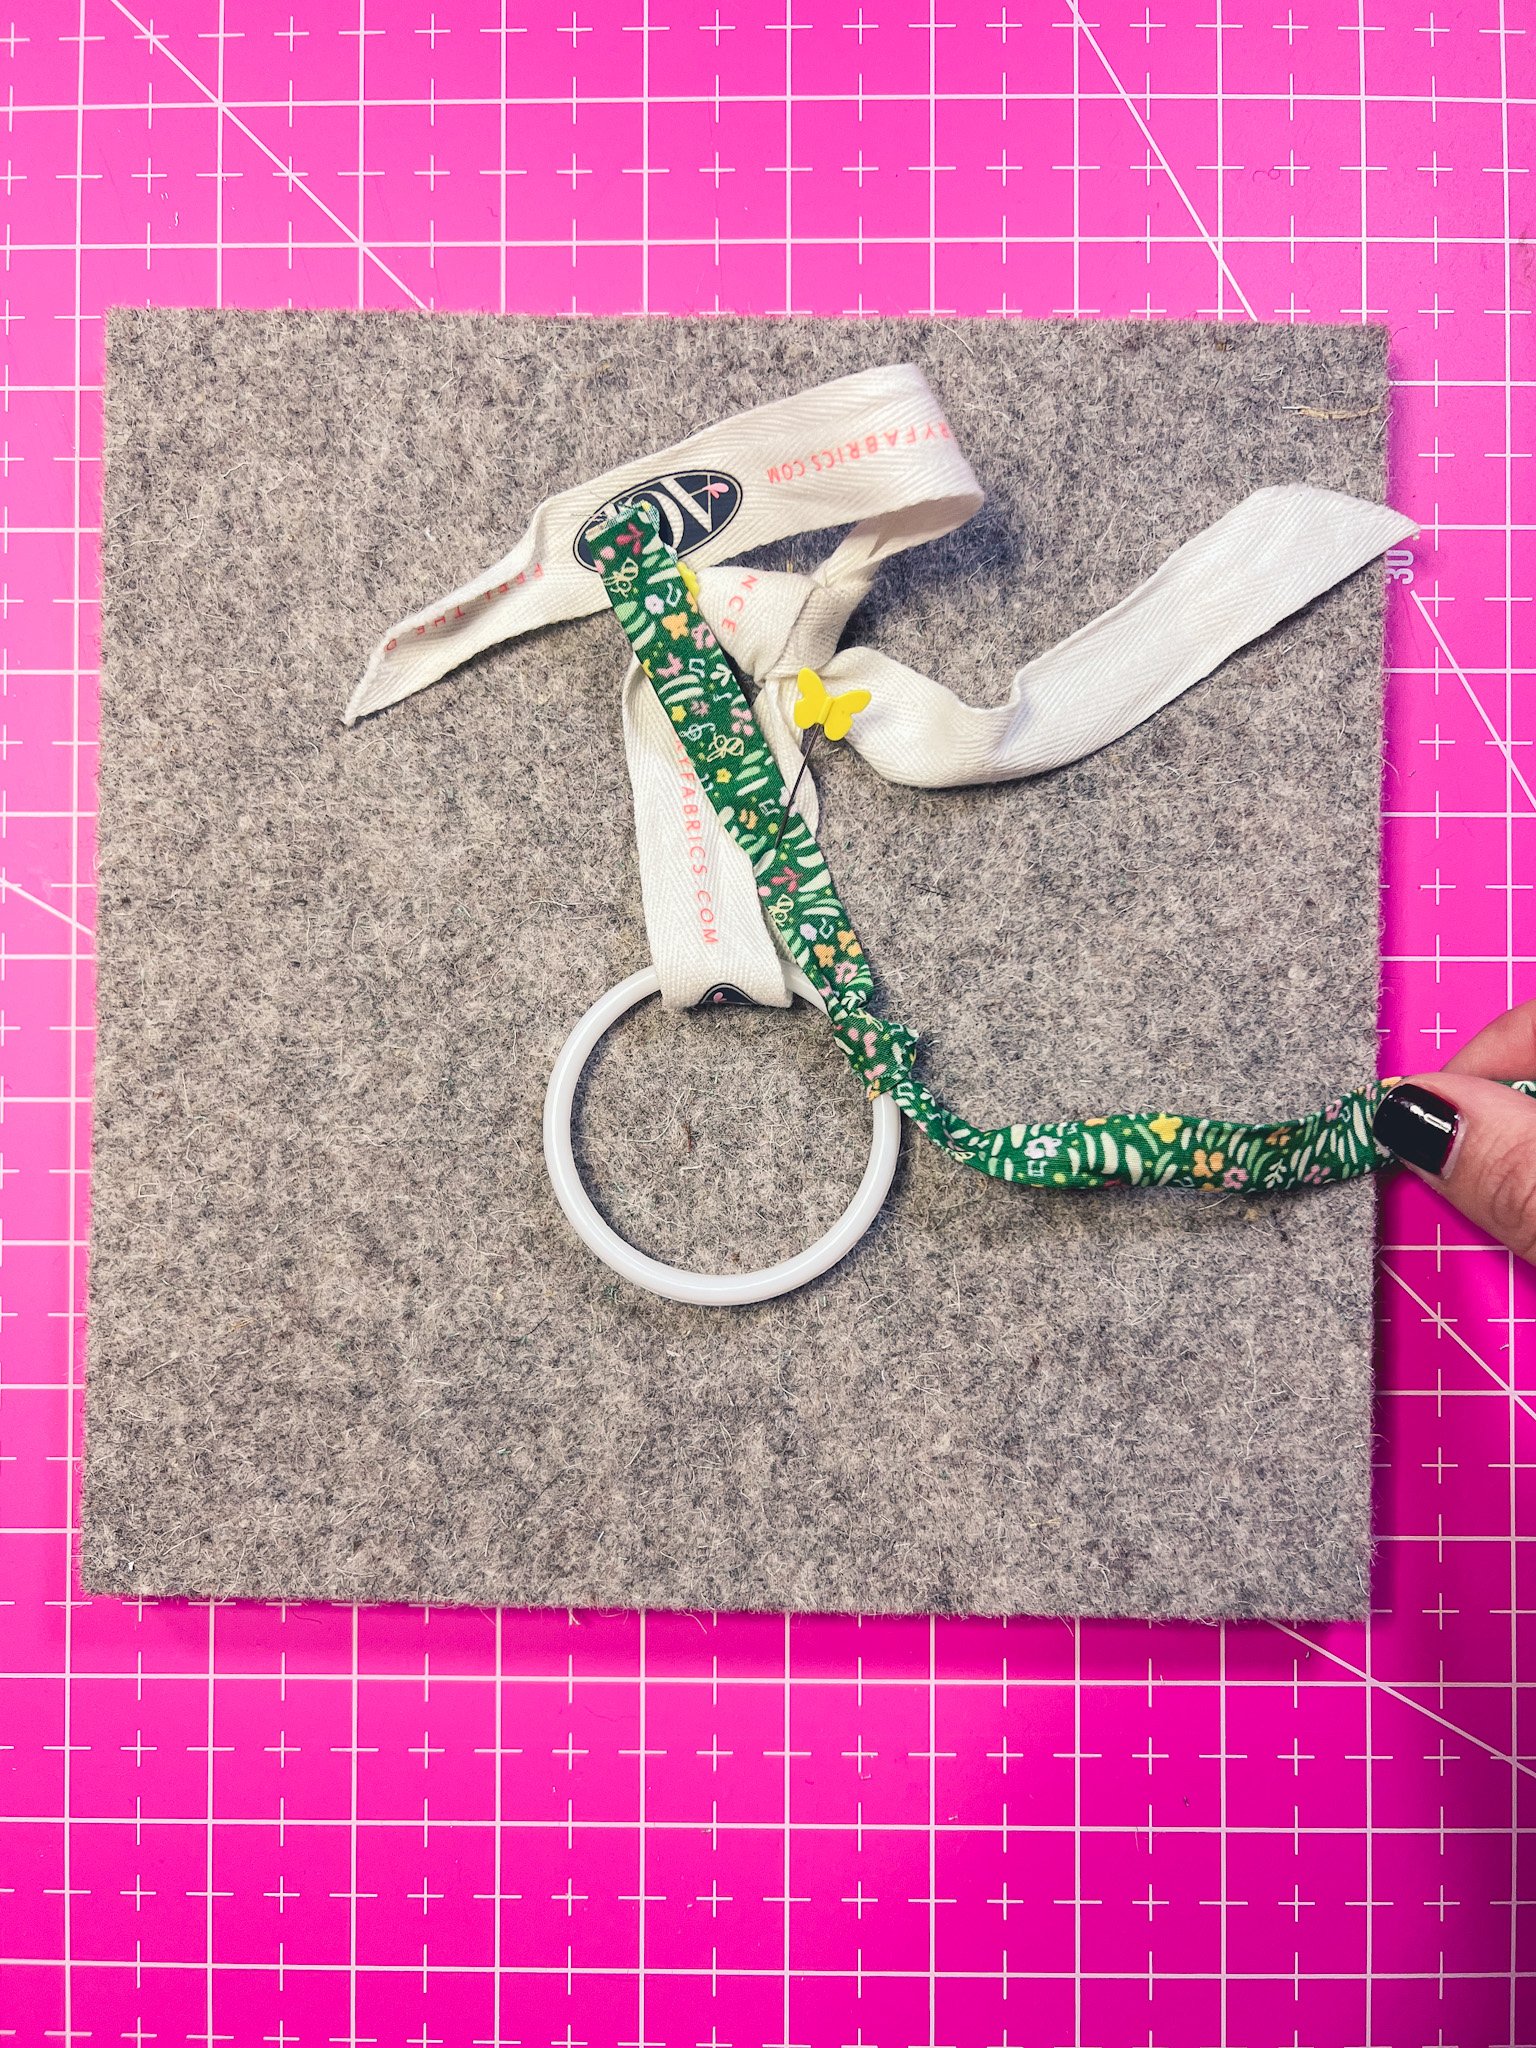
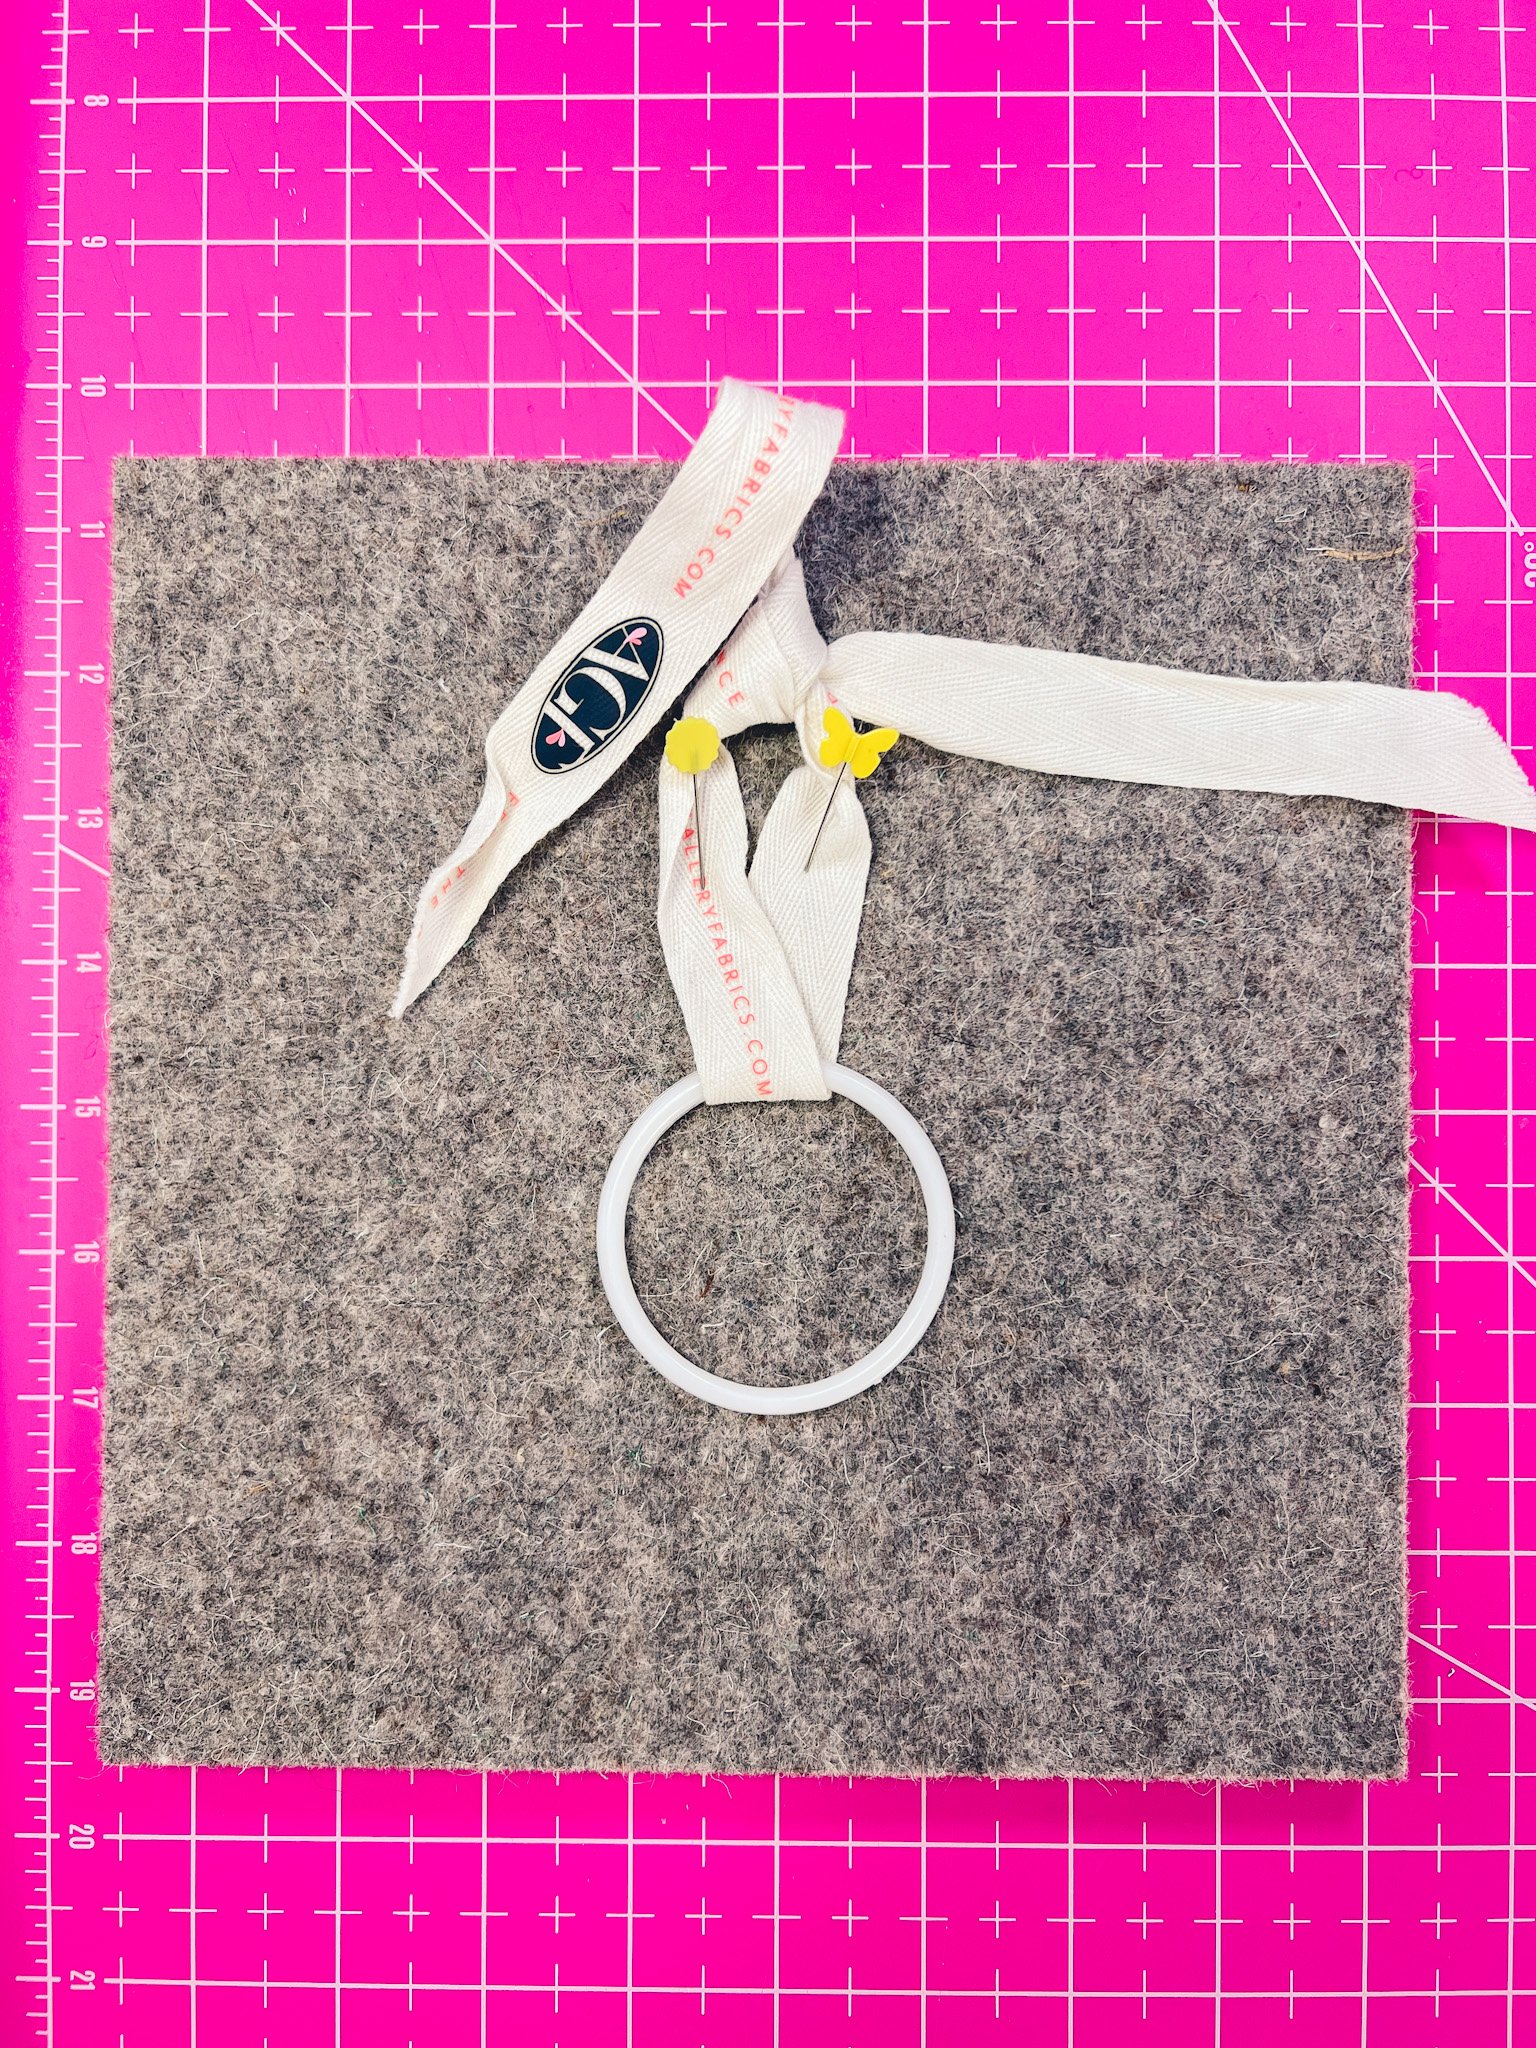
Take the ribbon you just made and thread it thru and tie in place with a simple single knot, leave a long piece on the left side. This will become part of the bow when you finish weaving the ribbon thru the loop. Make sure the knot is secure and pin down the left over side on the left ( shorter side of ribbon) you will use the long side to thread thru the stitch that will make the ornament.
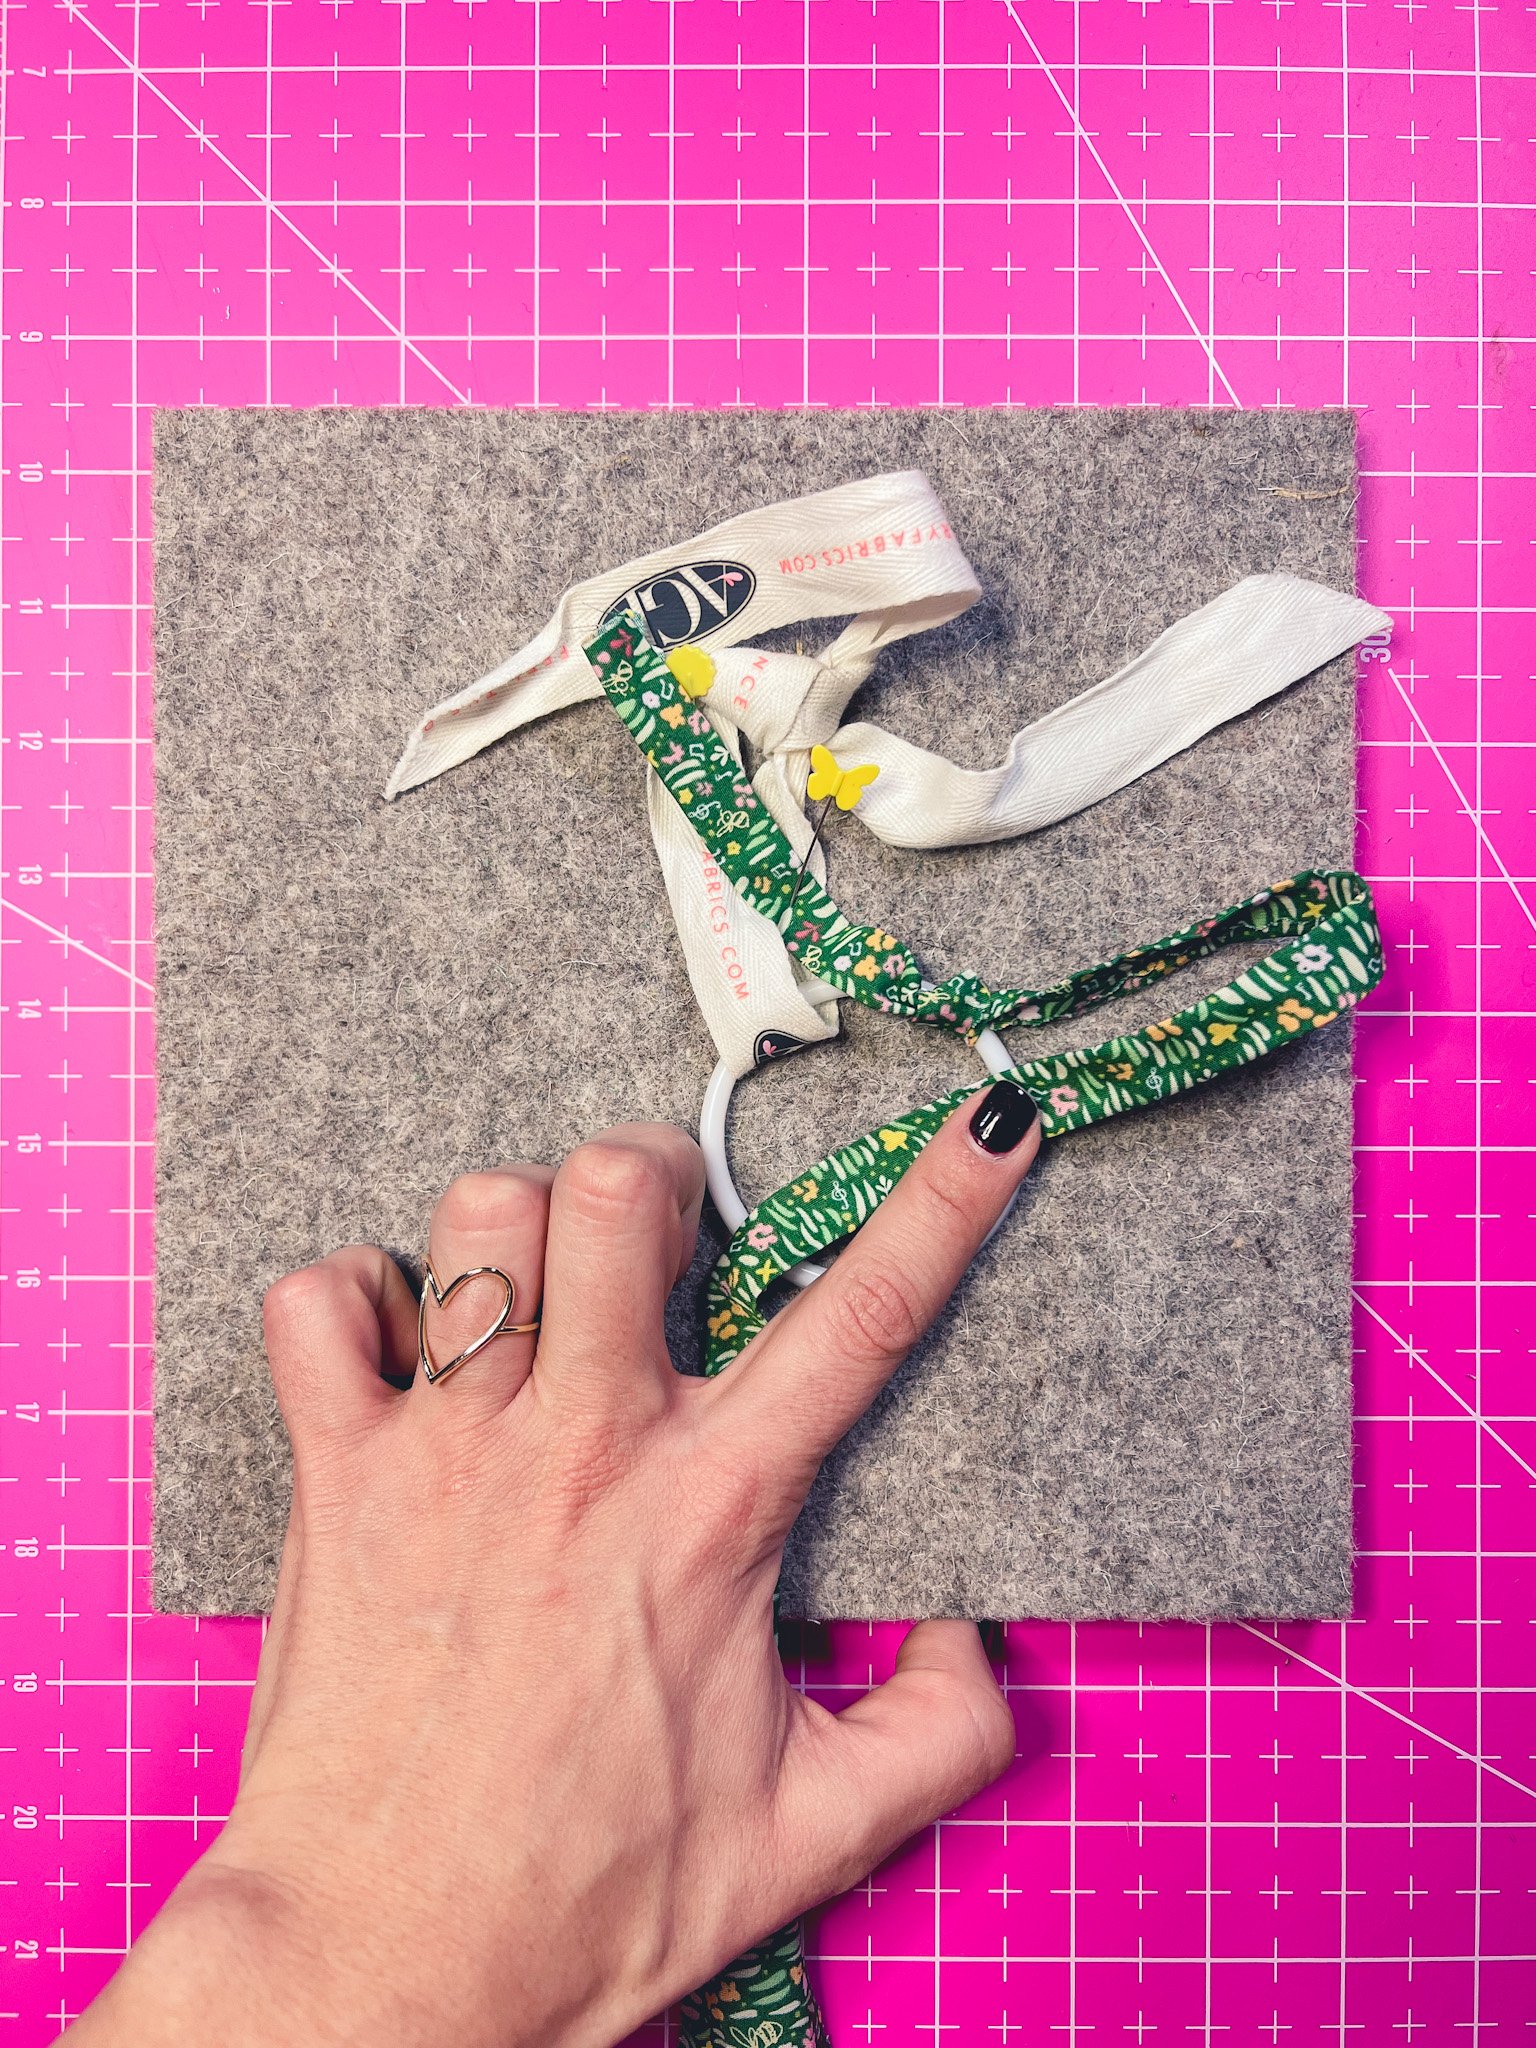
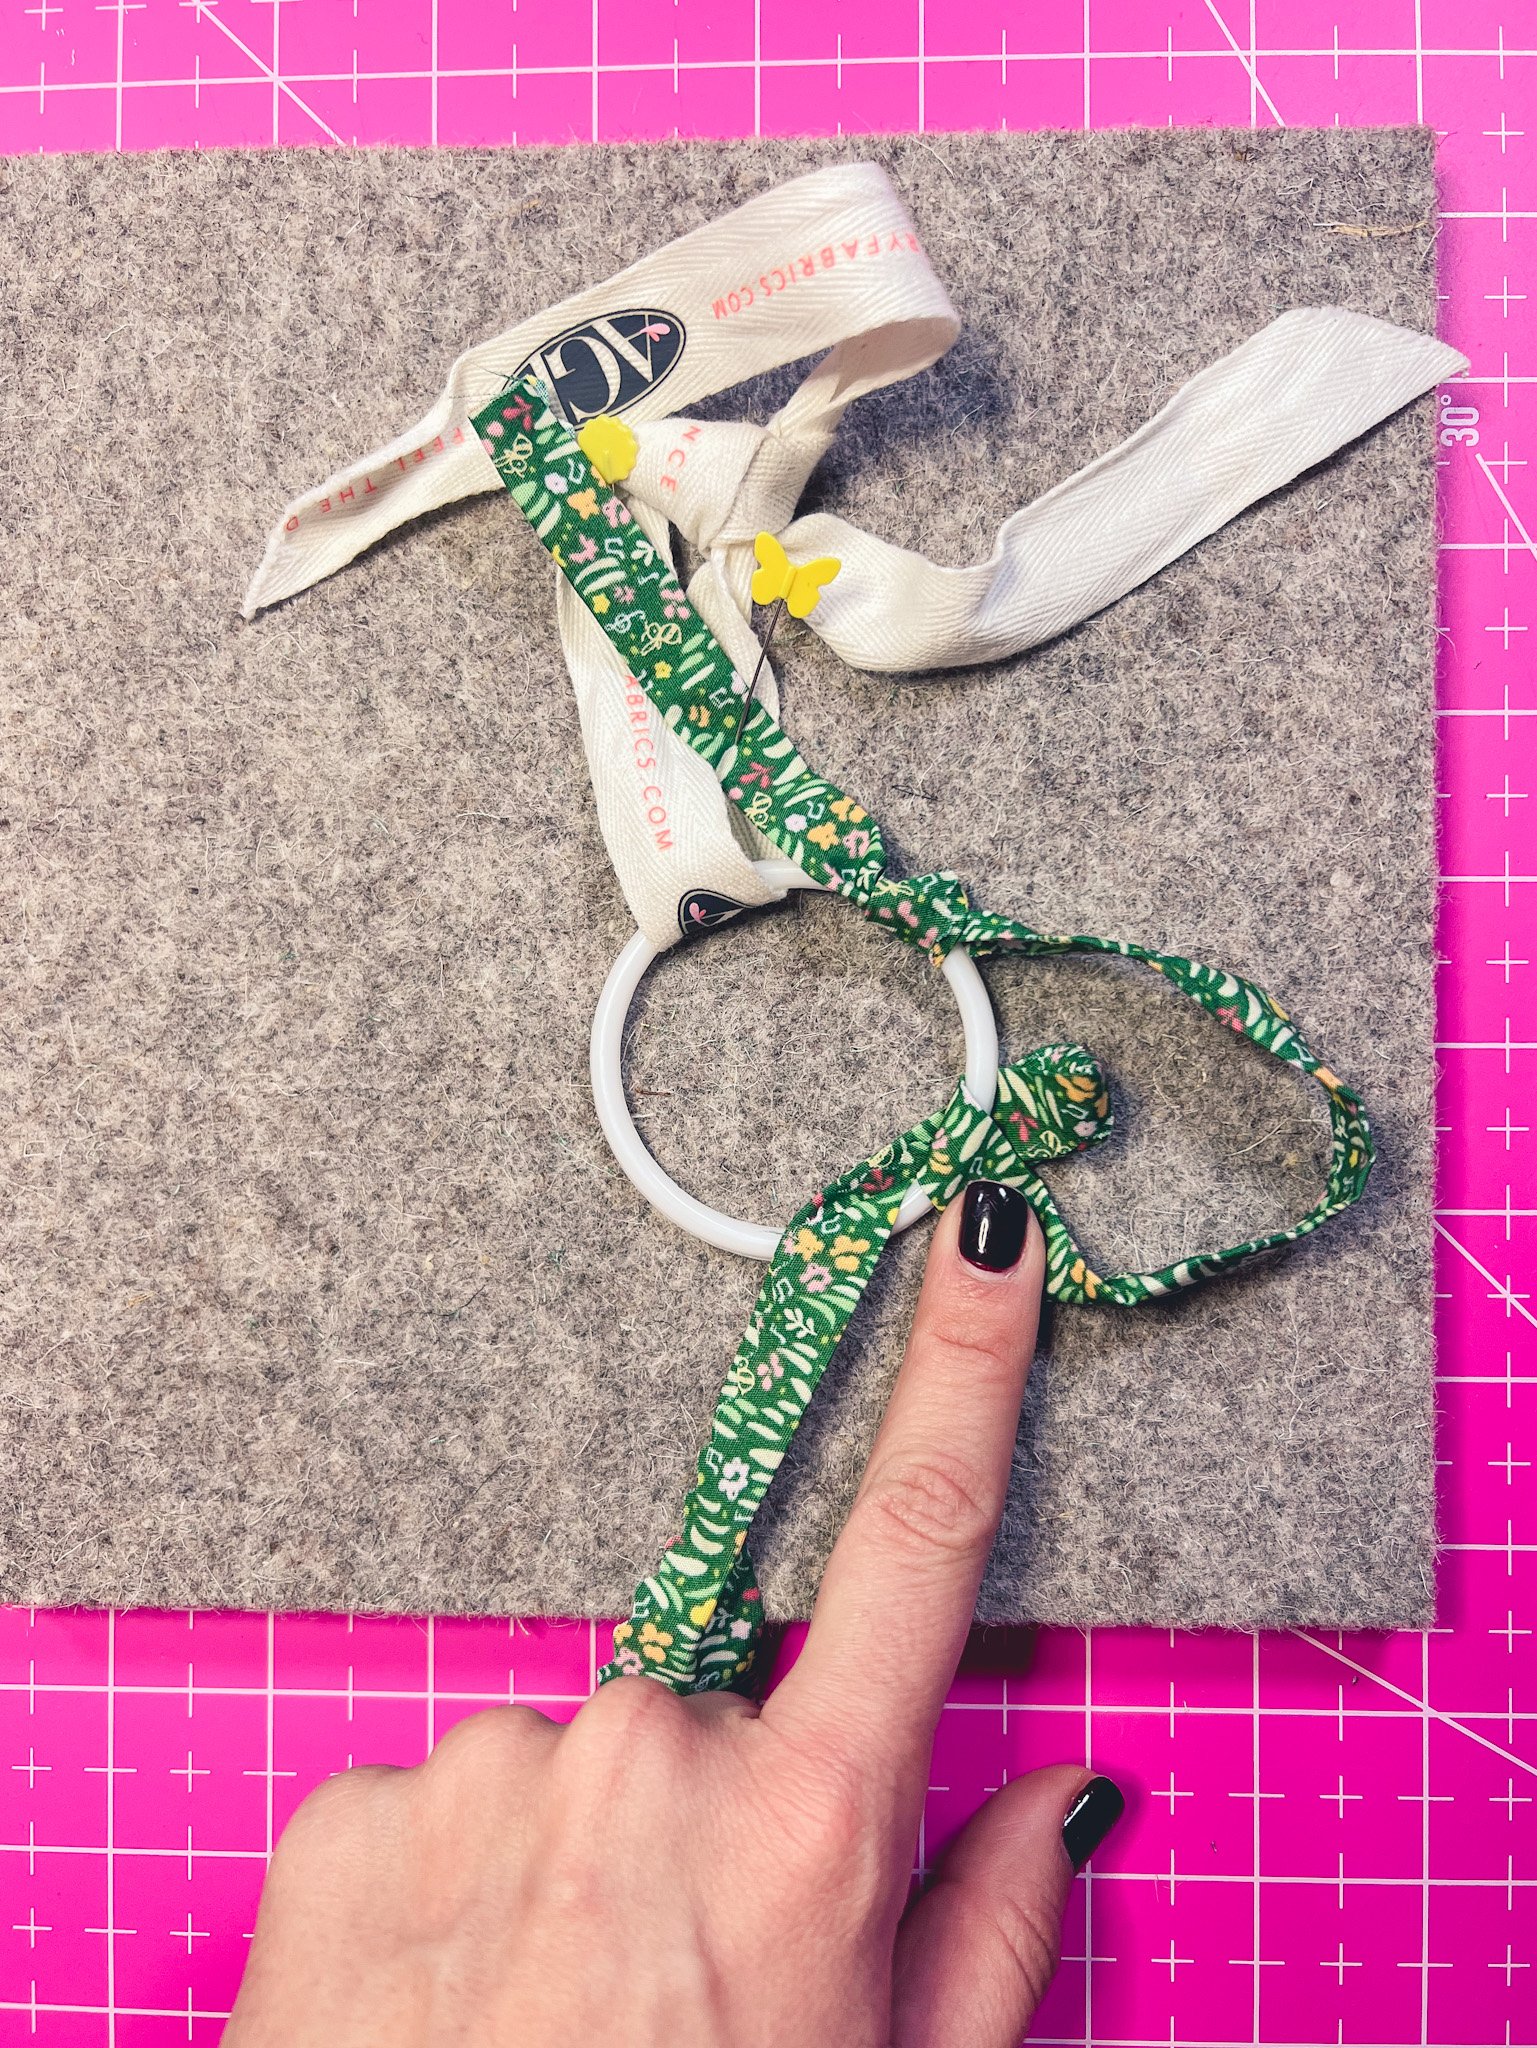
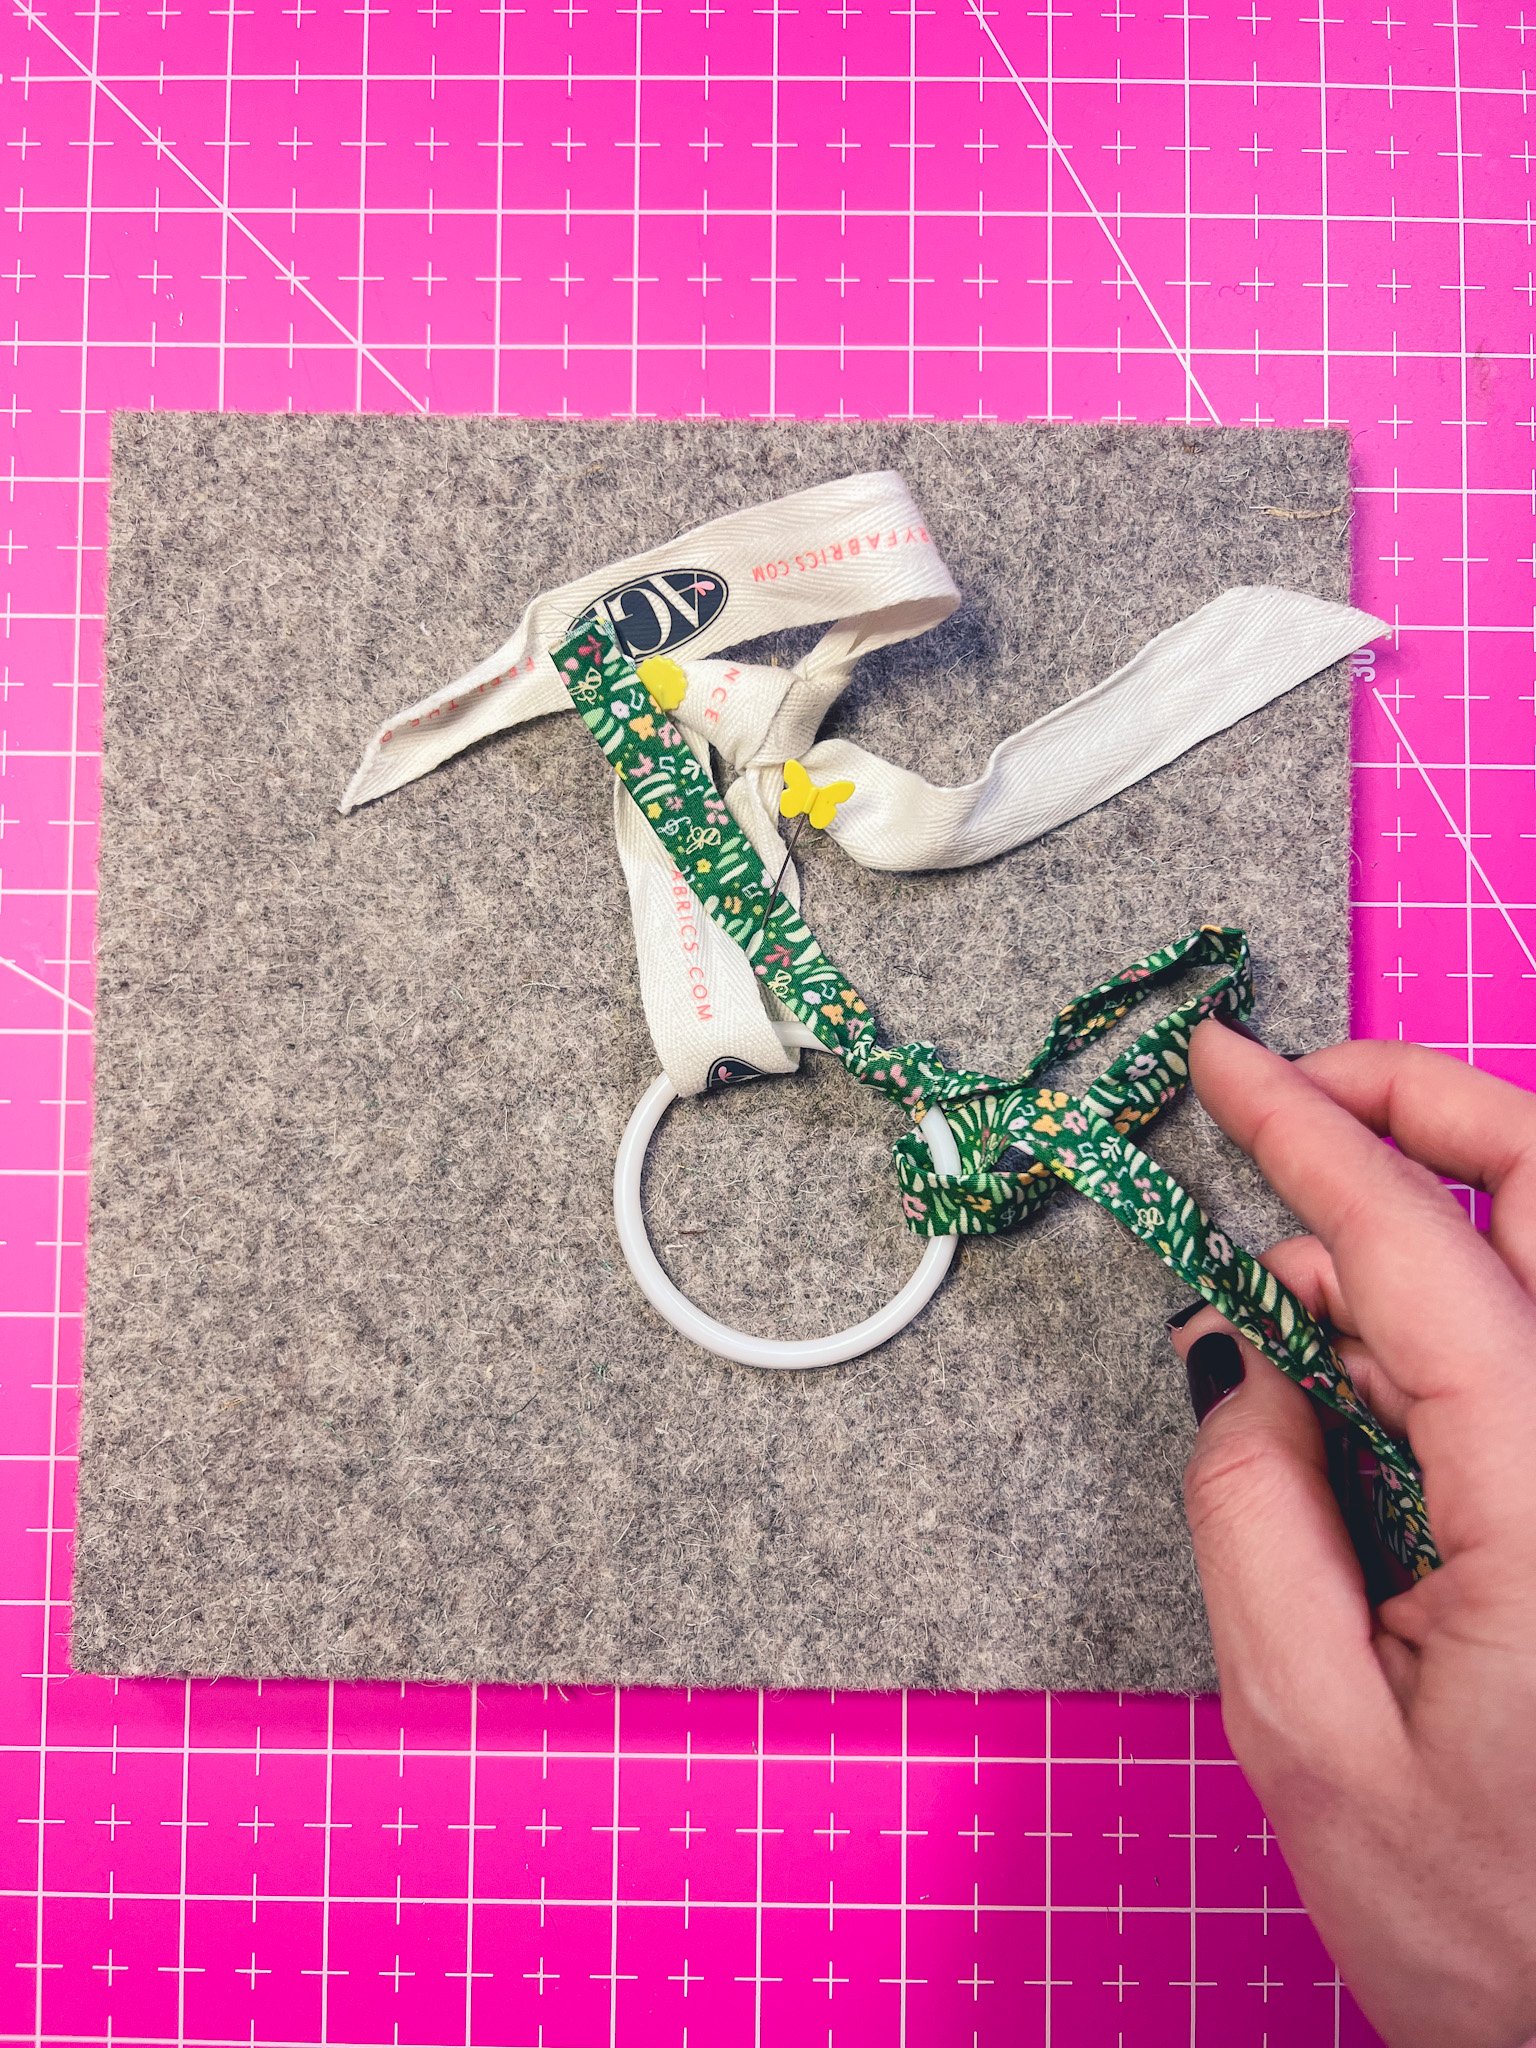
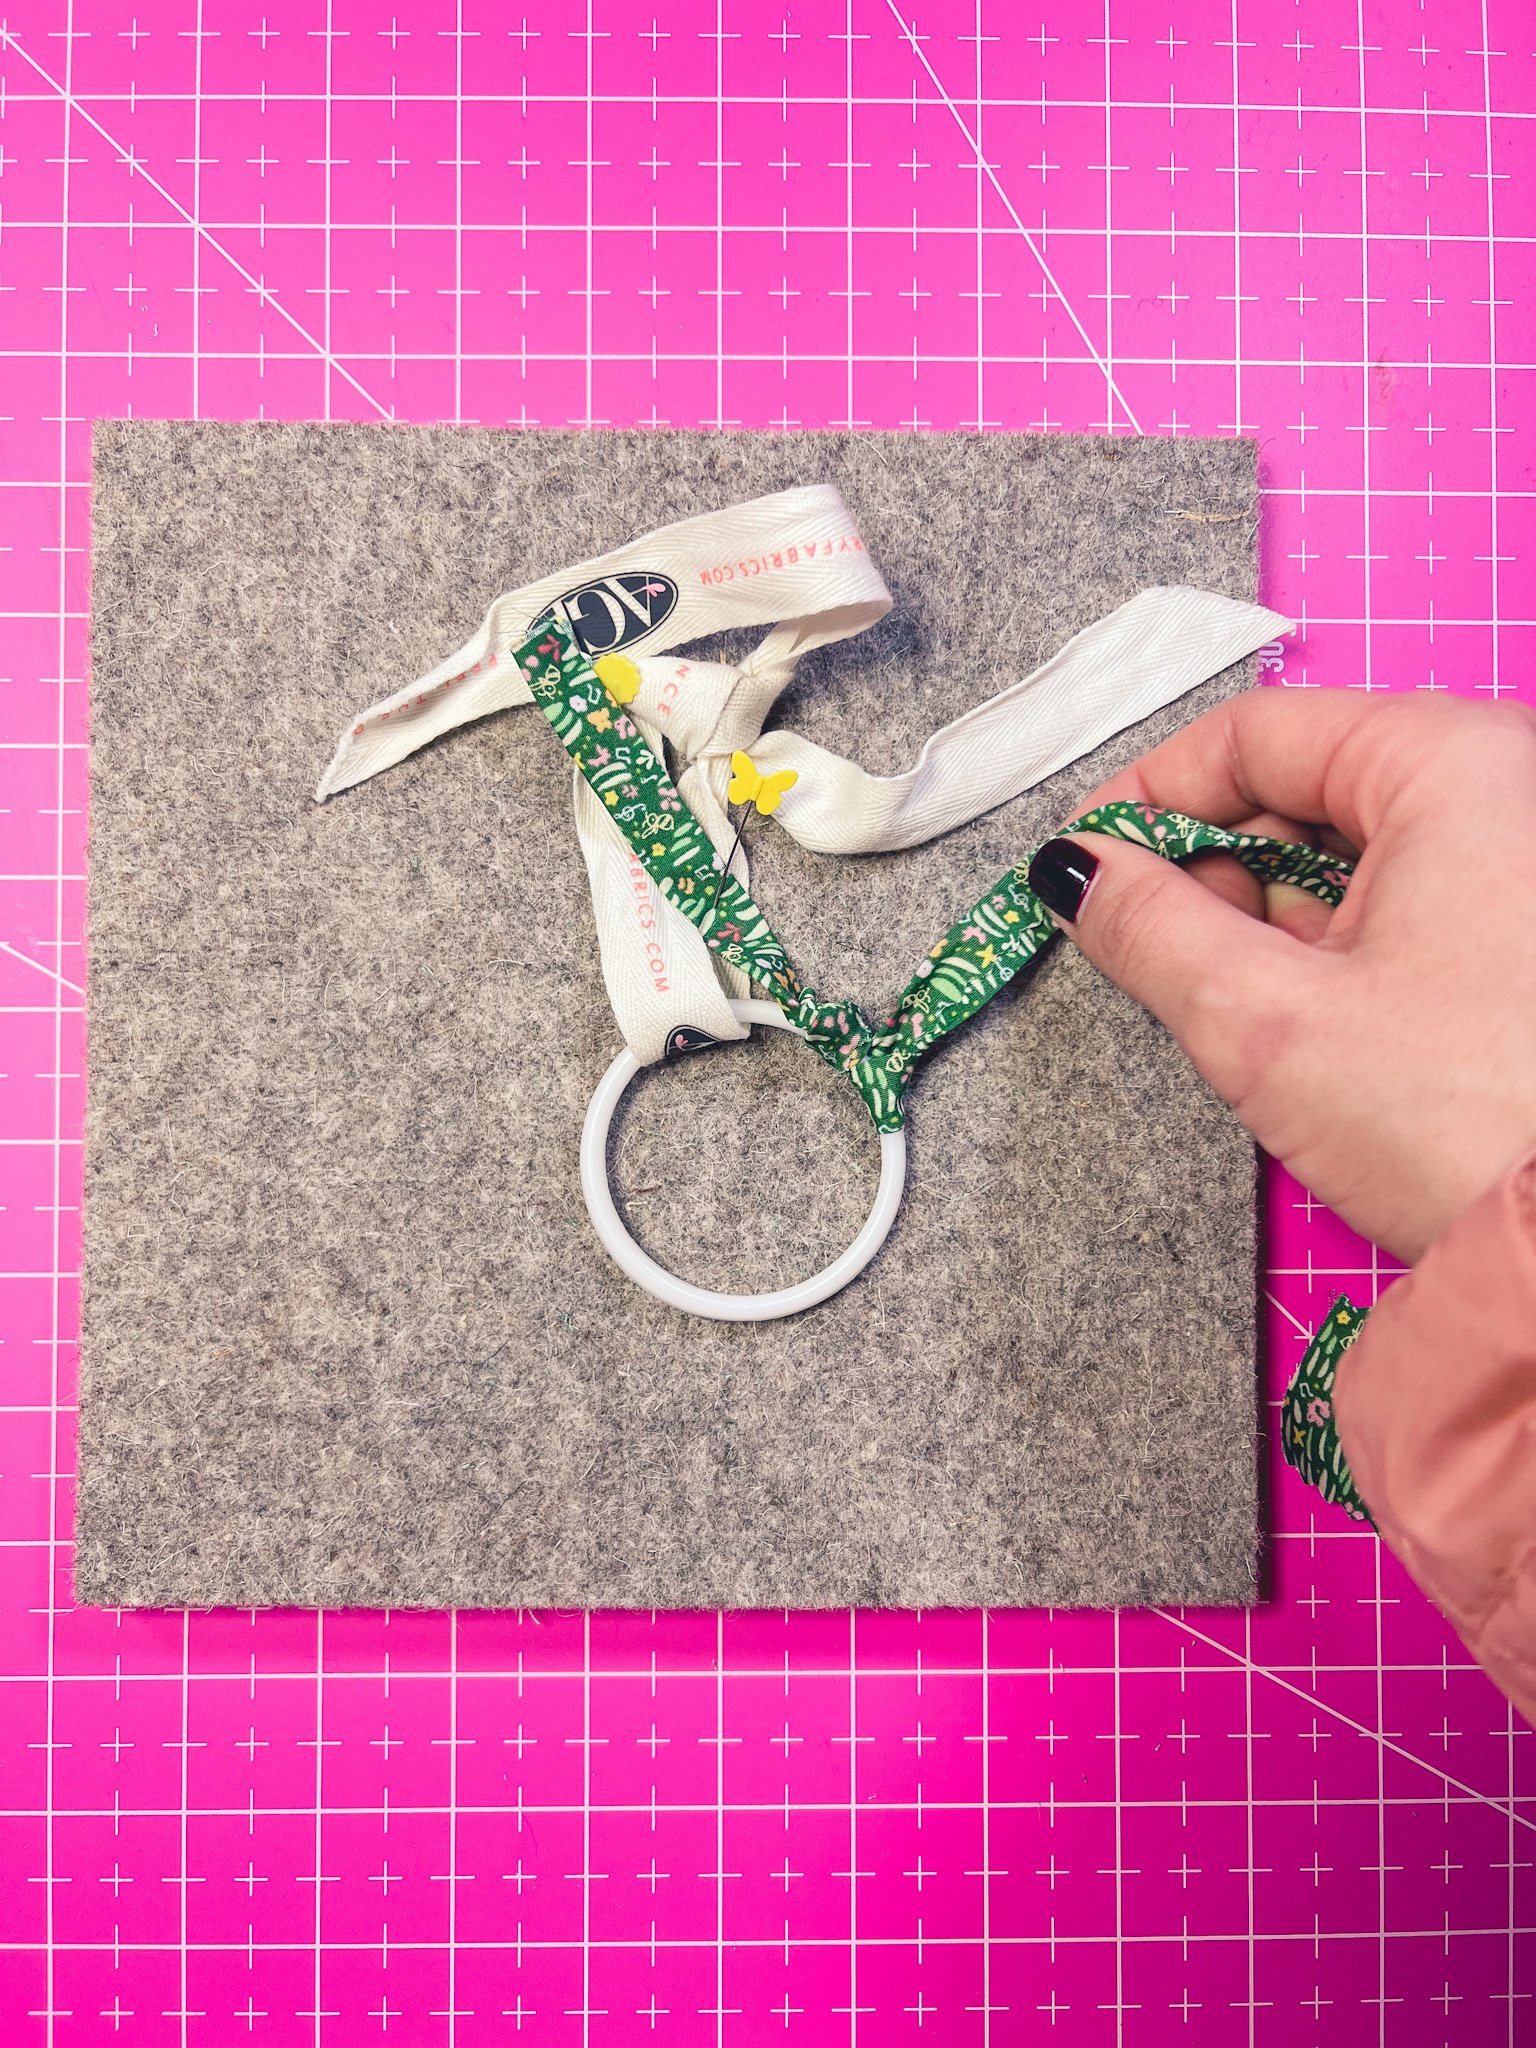
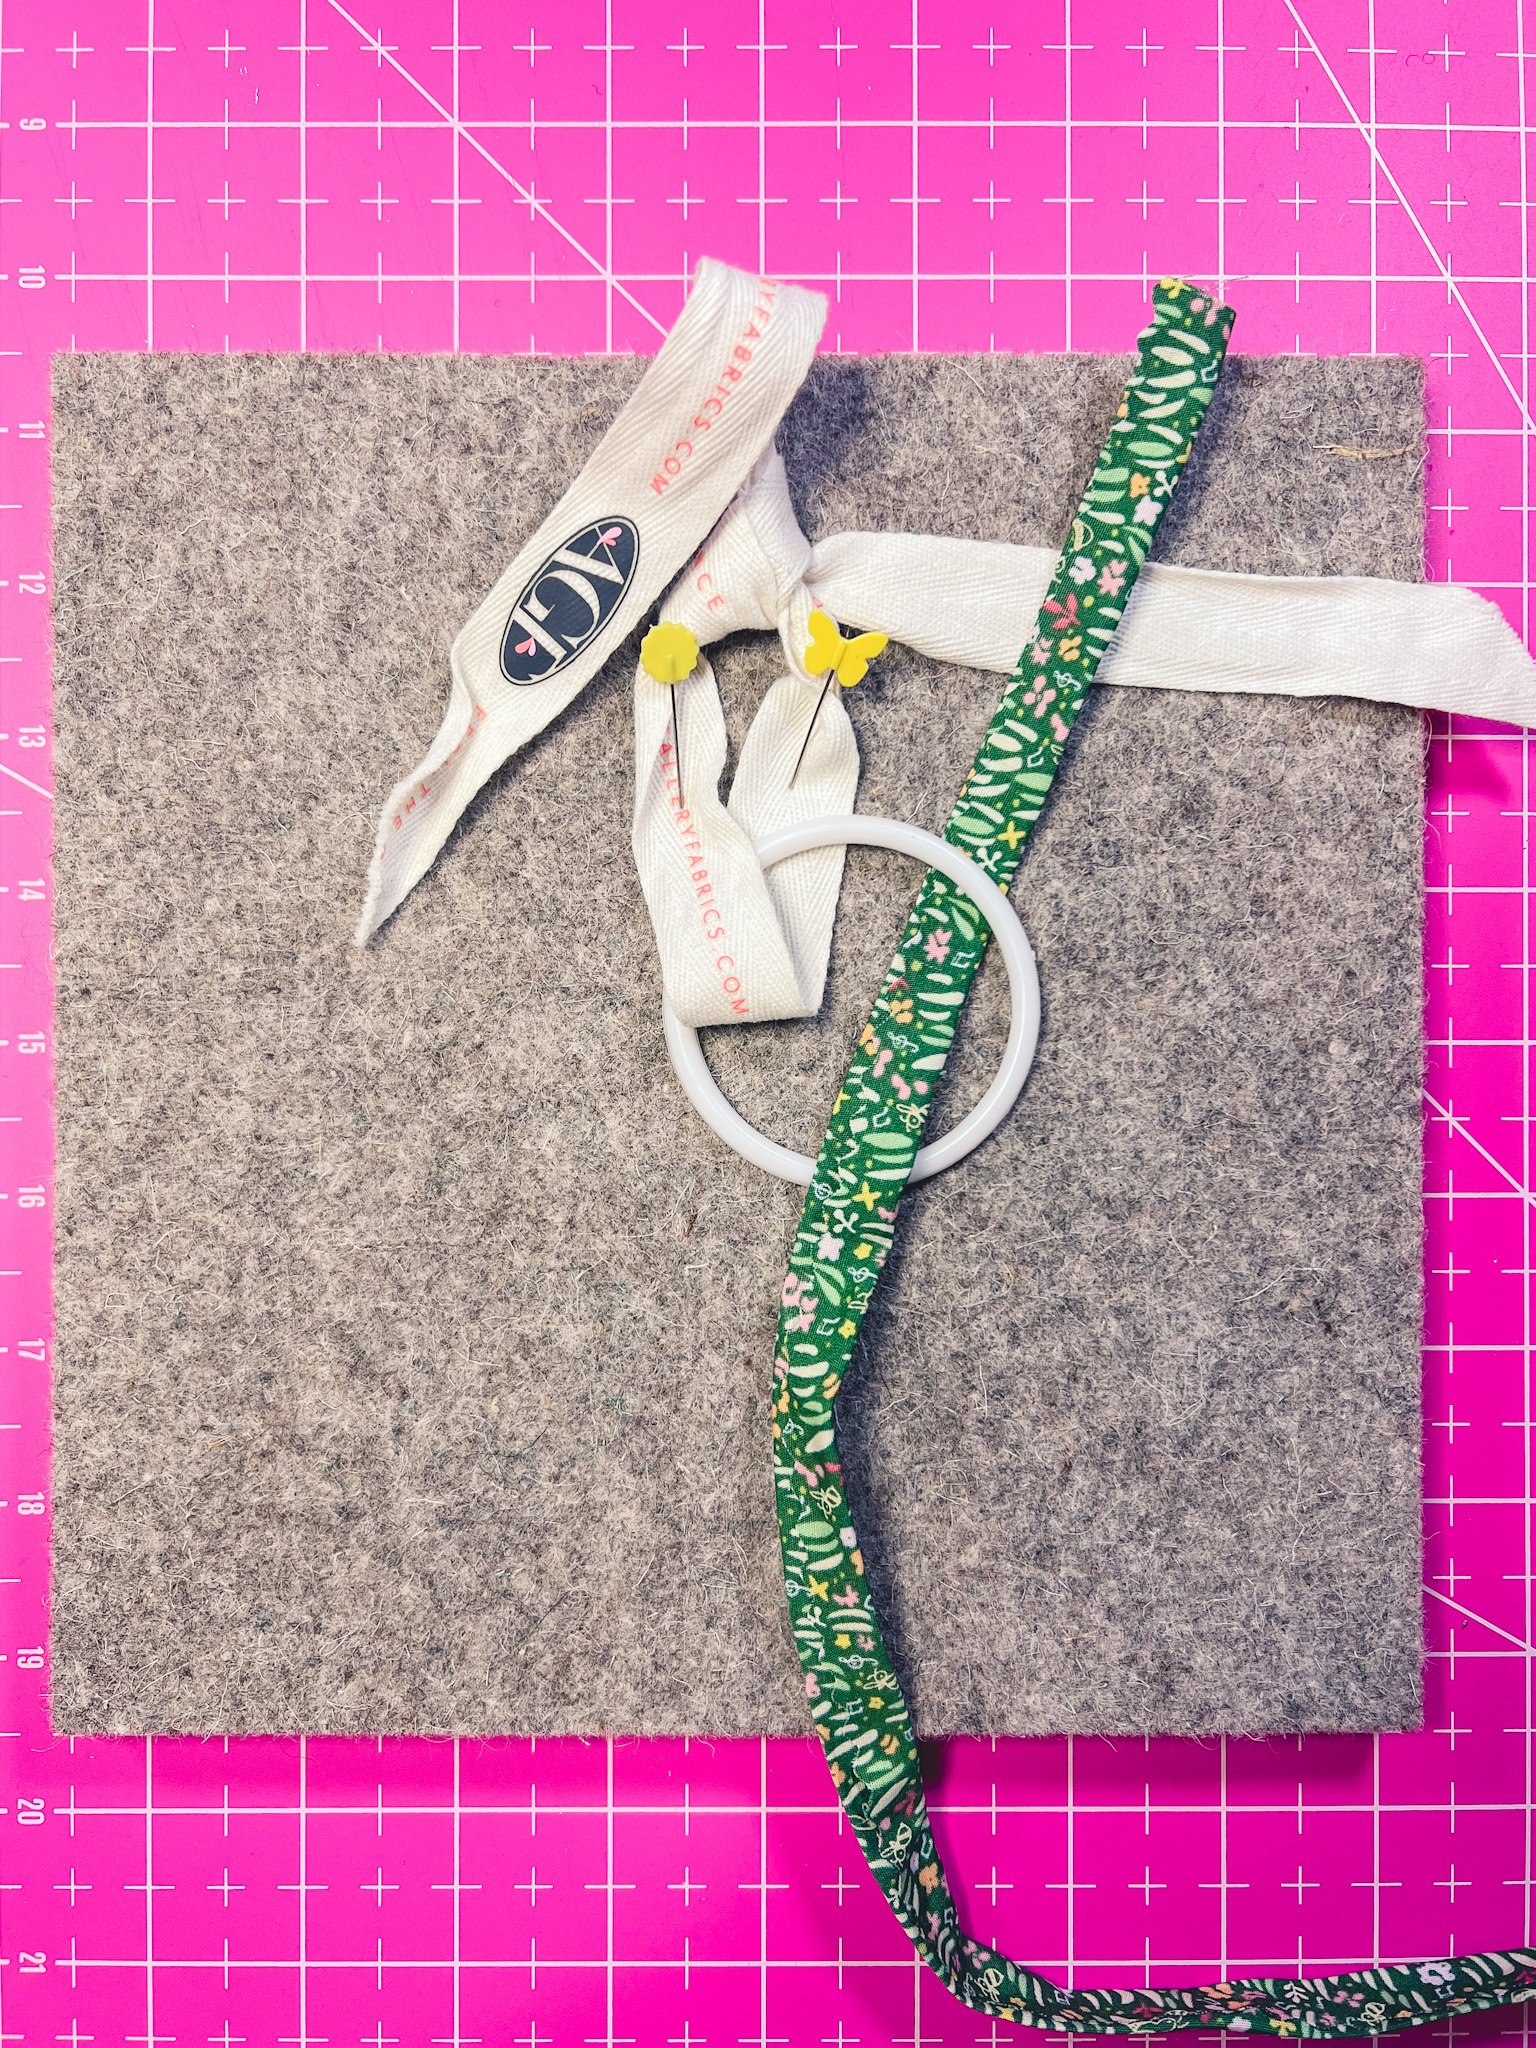
Here we go with the part that might get a little tricky but don’t worry I will also leave a small video. What you are going to do is make a loop making sure the end is on top of the plastic loop then you will thread thru the long end of the ribbon and pull up towards the first knot. Make sure to pull strong and secure your first stitch “knot”. You will continue this thru all of the hoop.
I didn’t have my ribbon done properly because I made this video after just to show you how to loop the ribbon around the hoop. You should have the ribbon pre-made all the way thru before starting ;) After the first 2 -3 stitches I remove it from the mat and use both hands its easier for me but go ahead and try both ways. Its super important to putt with strength upward and push the stitch over towards the knot.
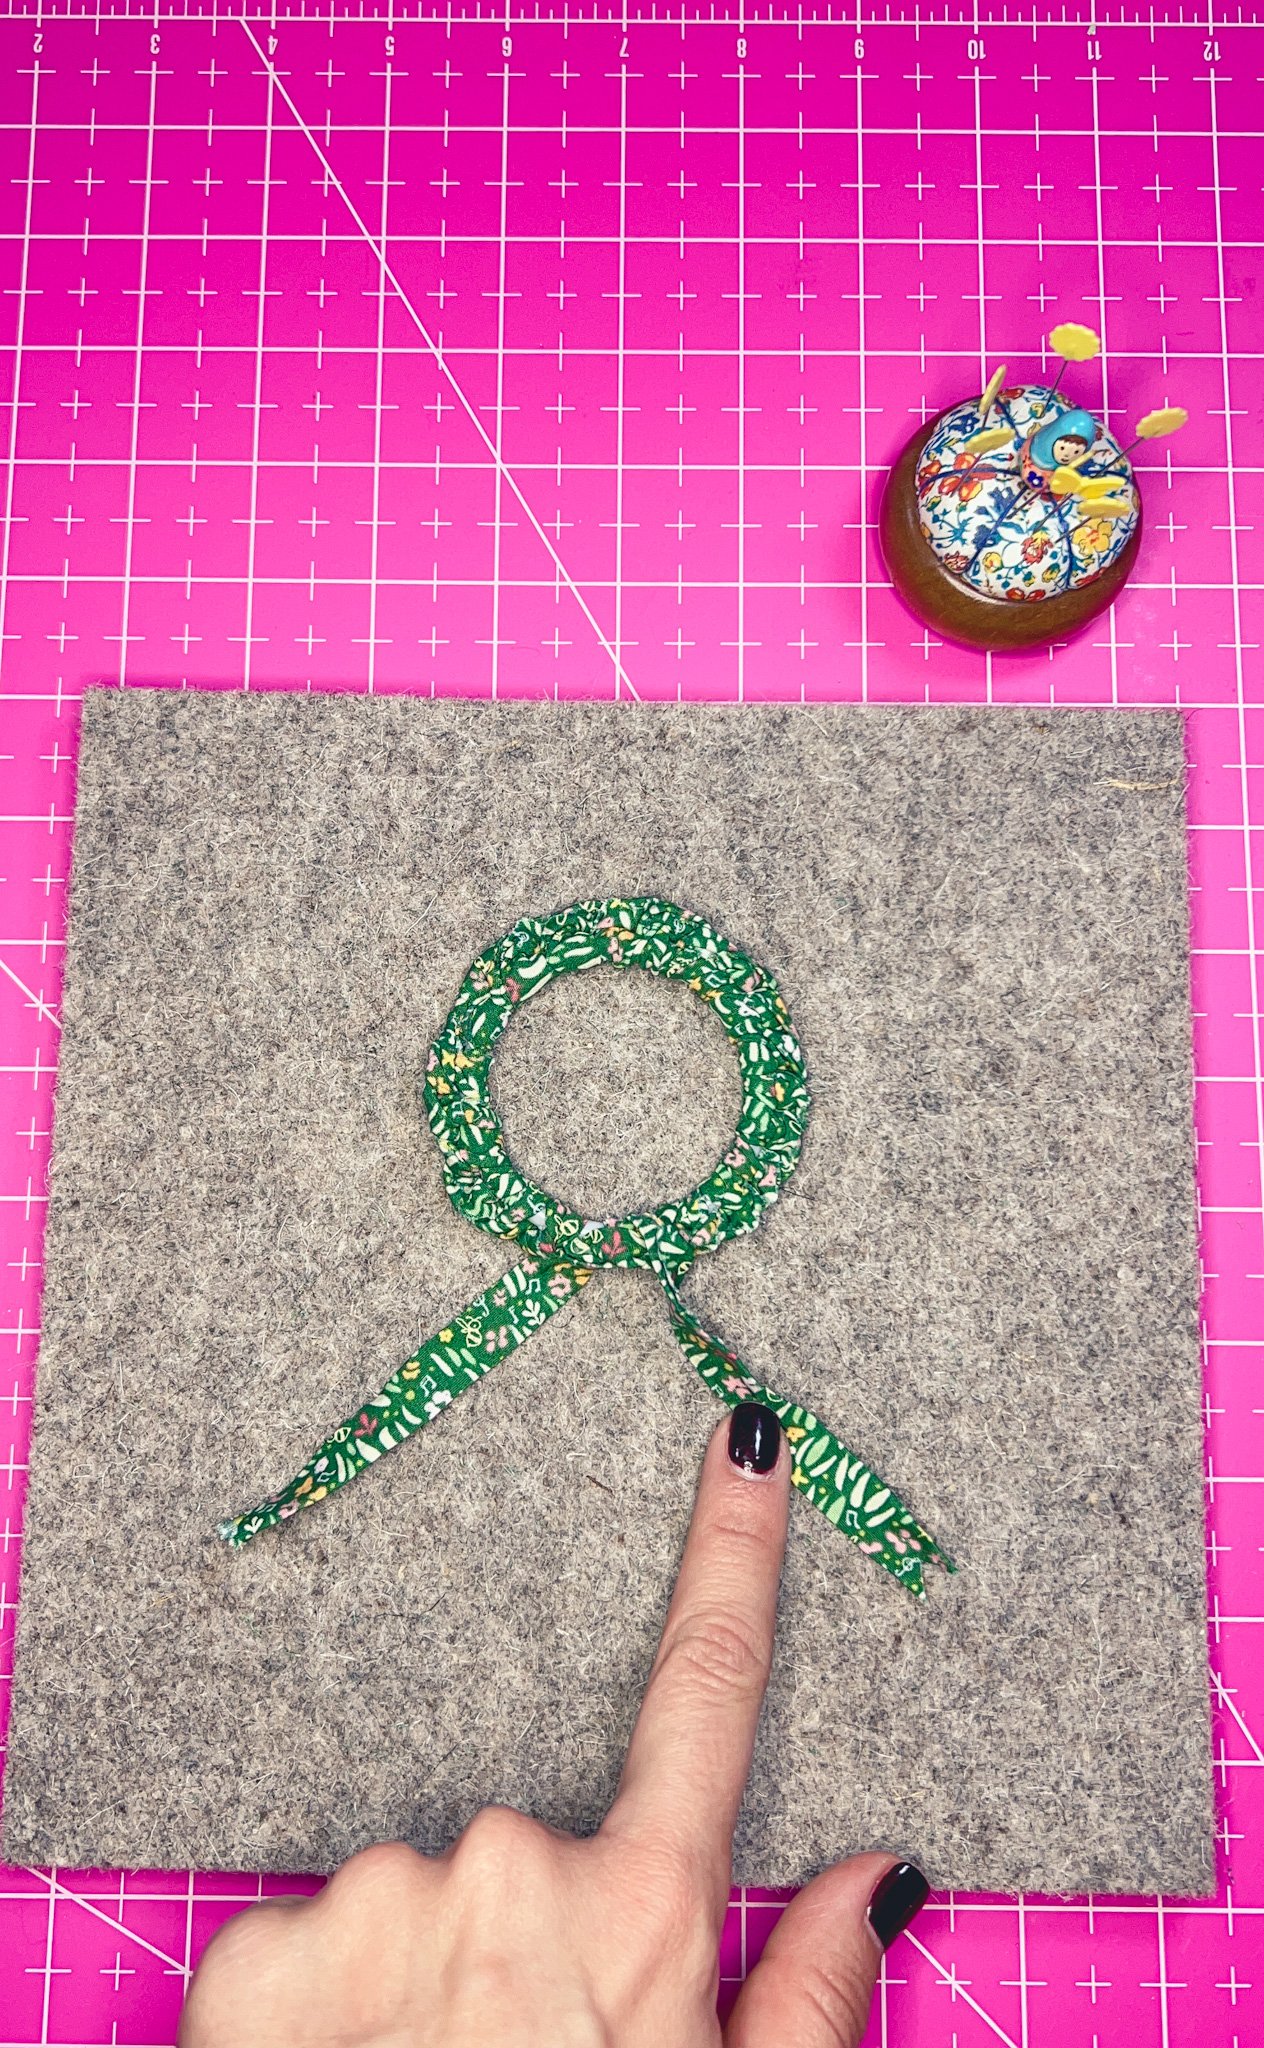
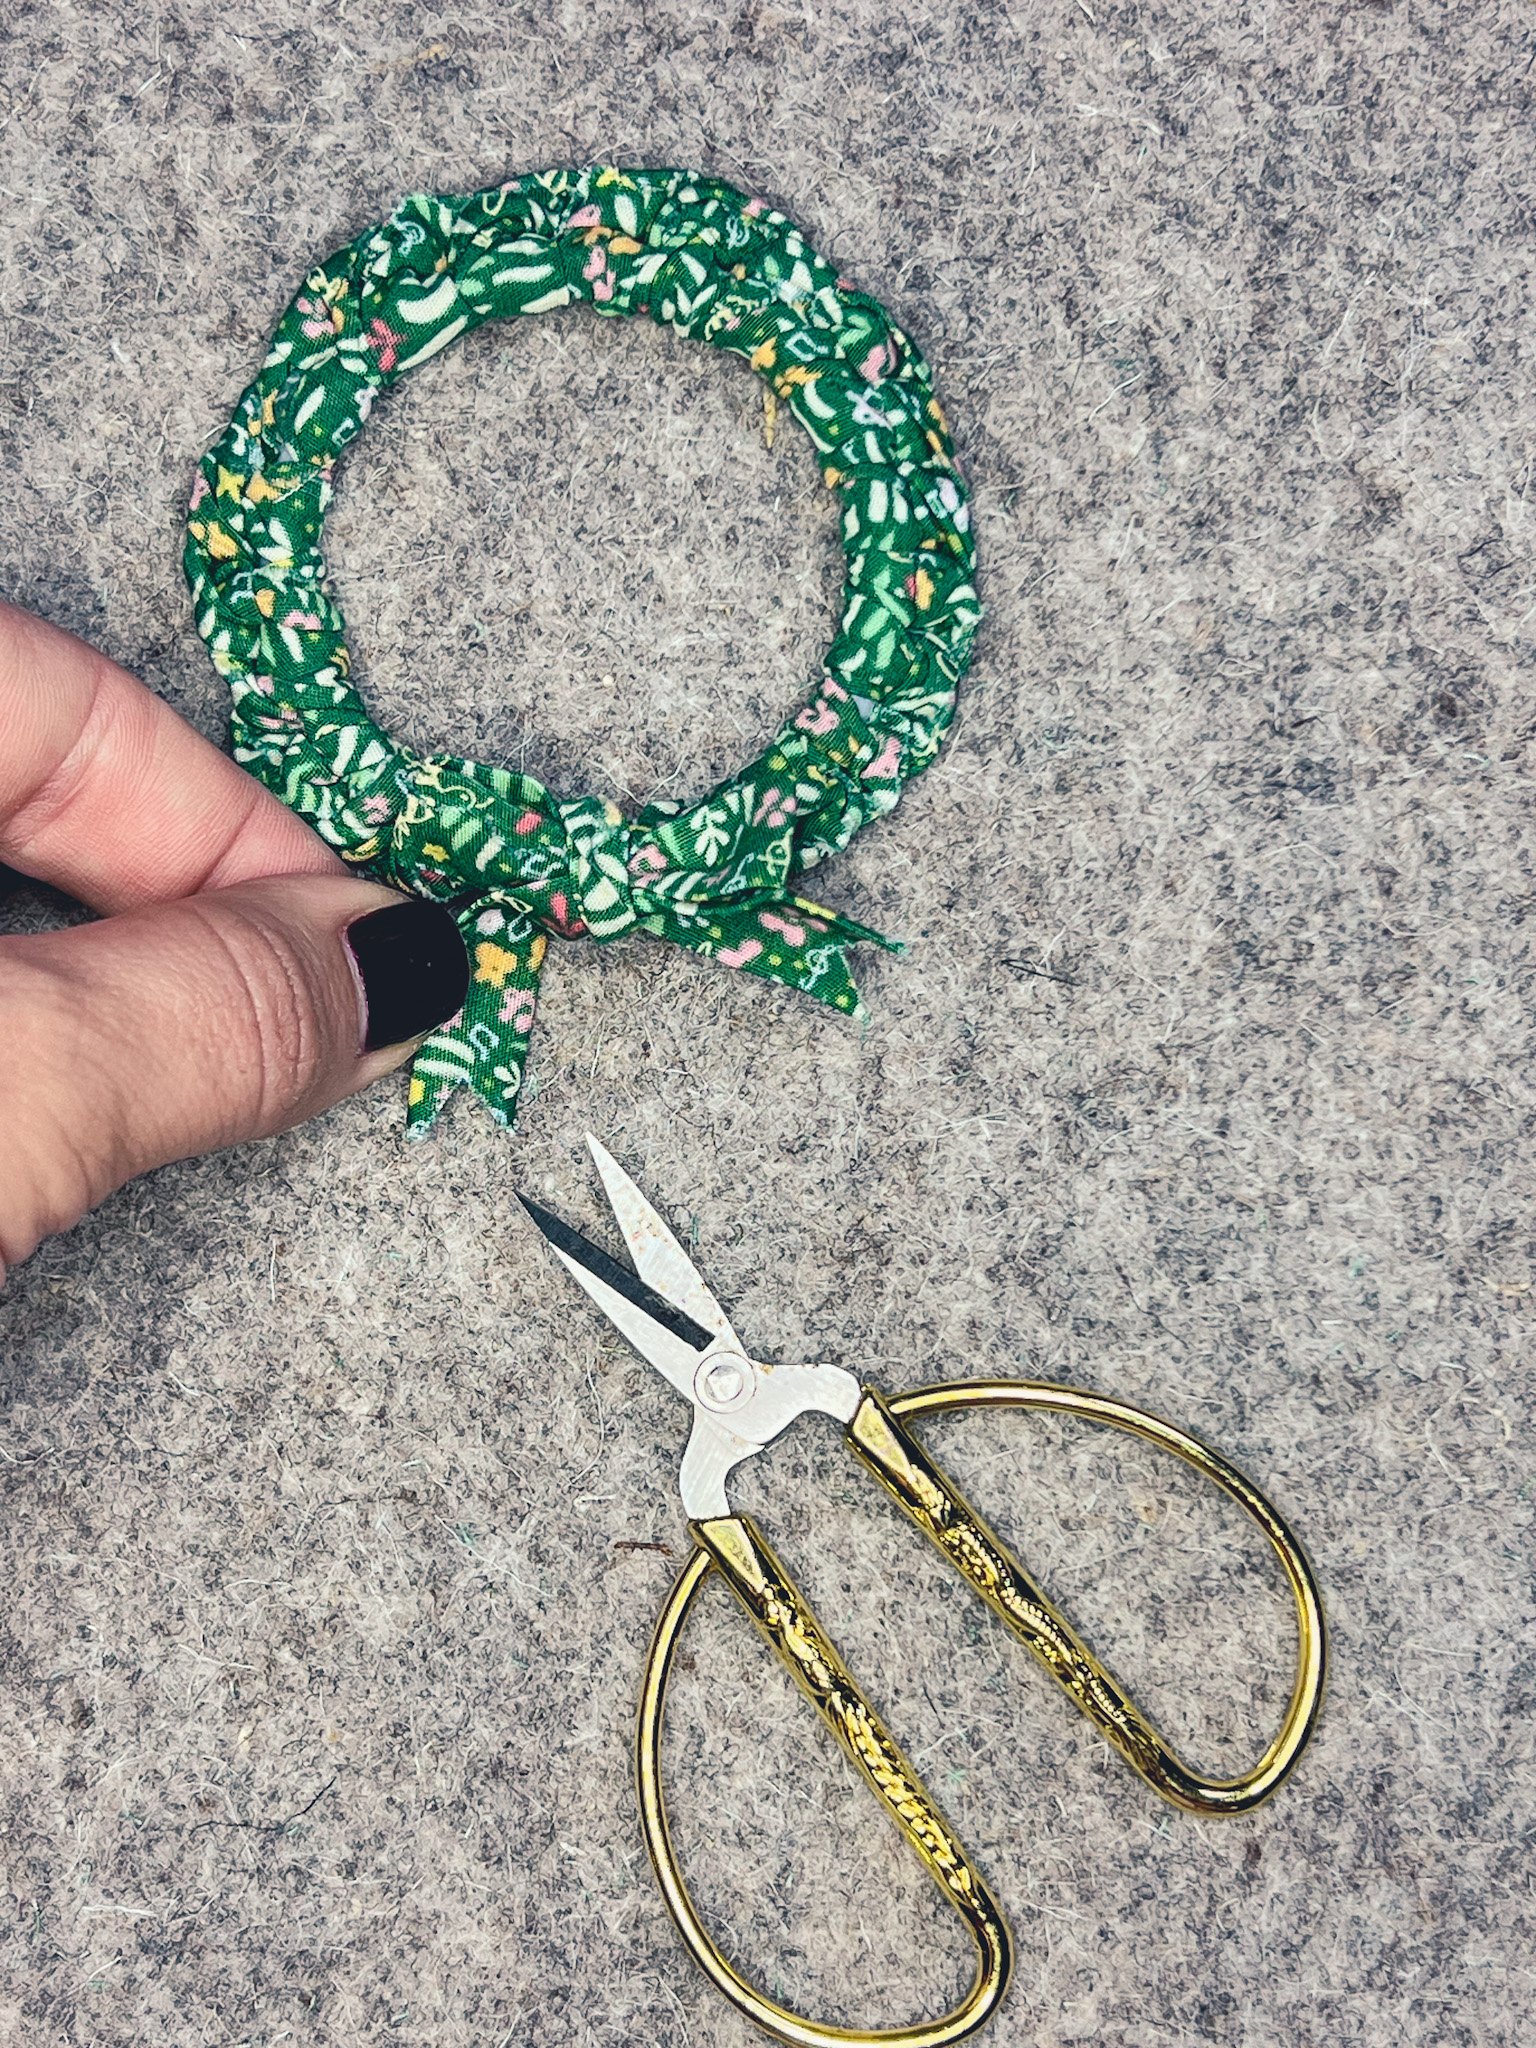
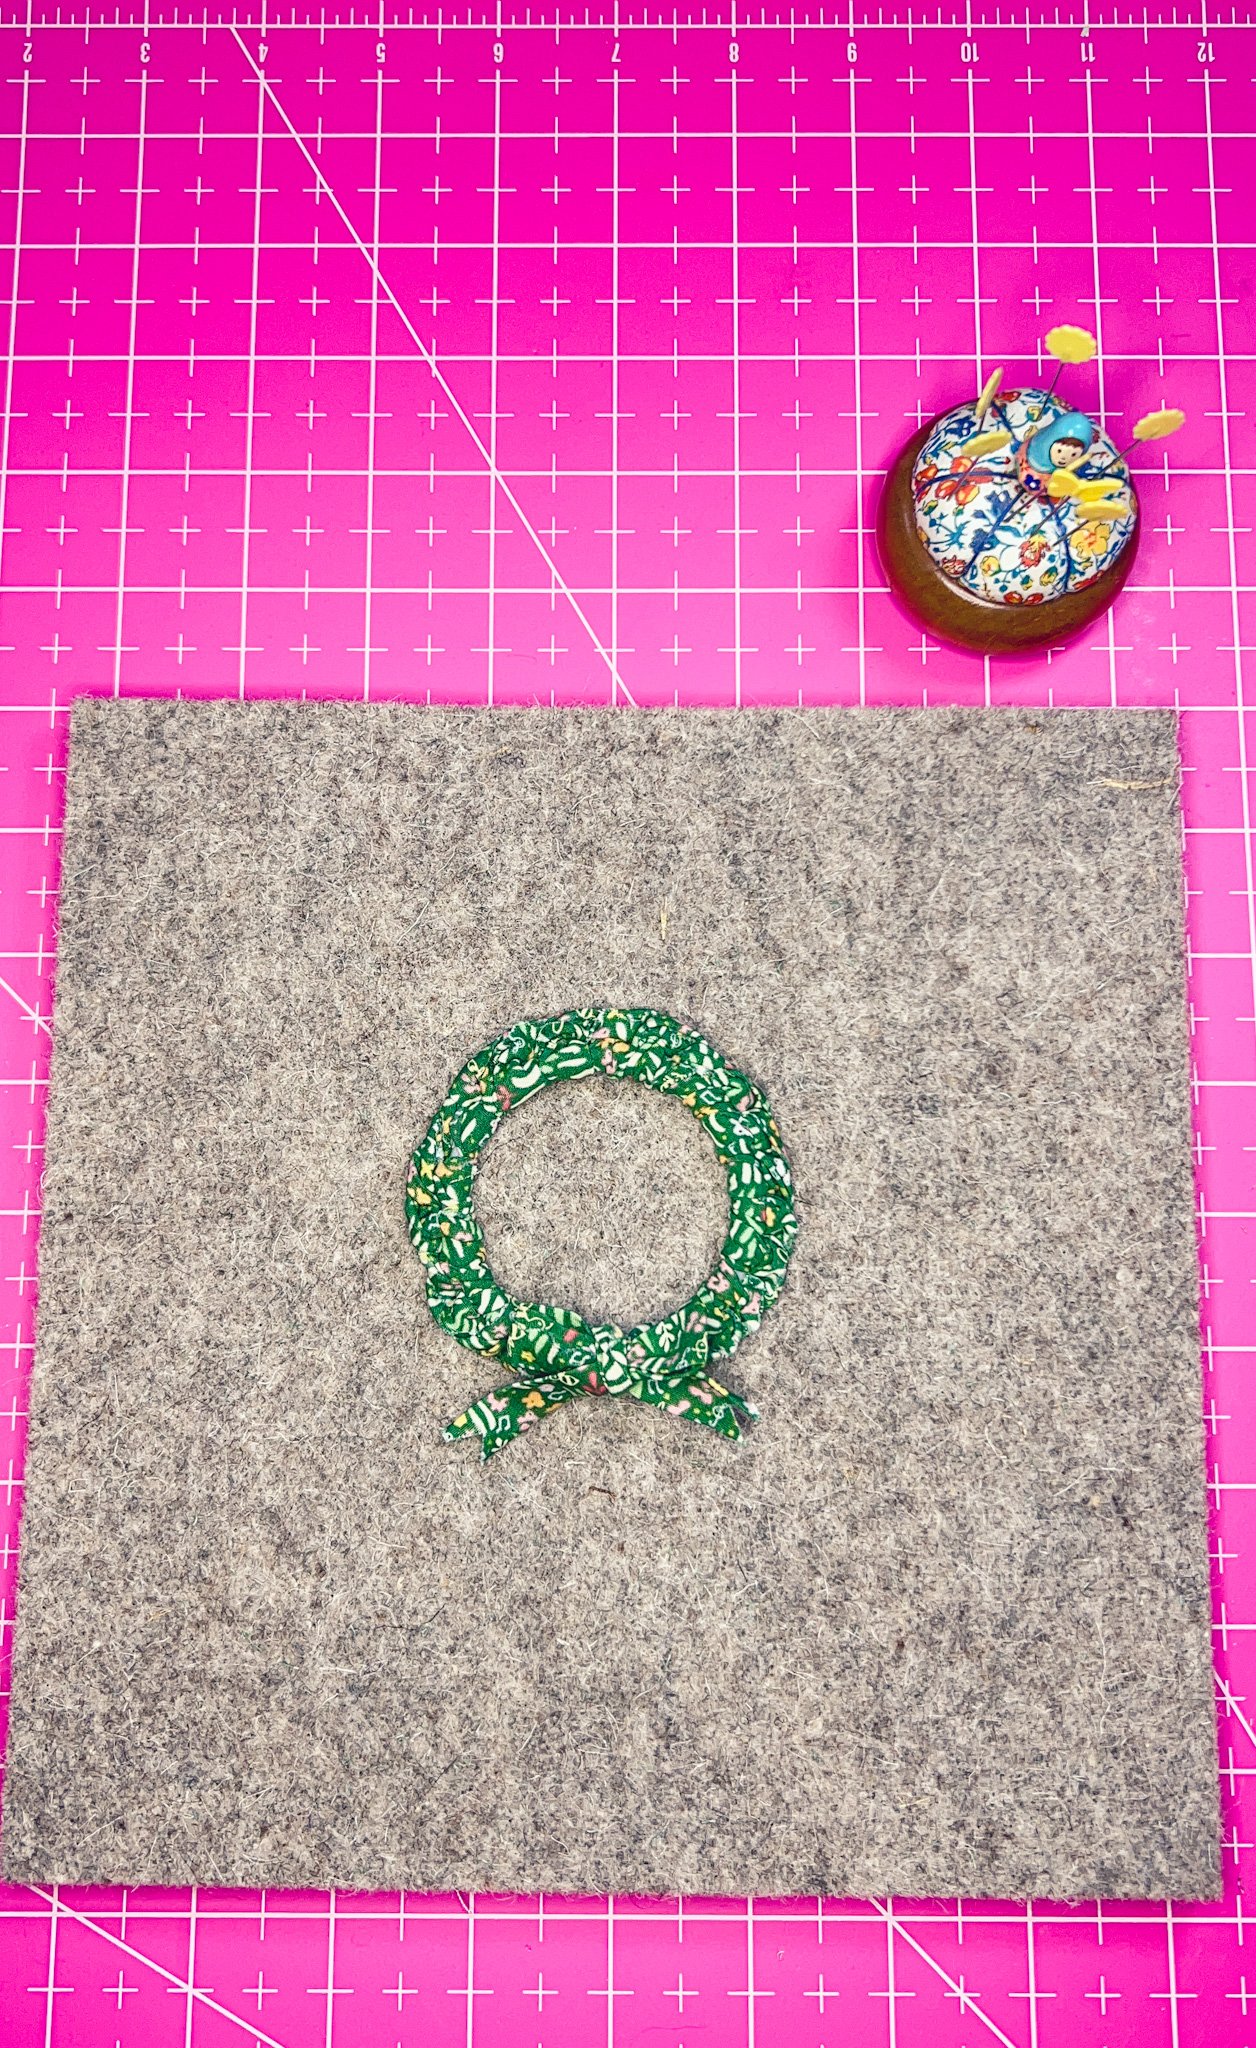
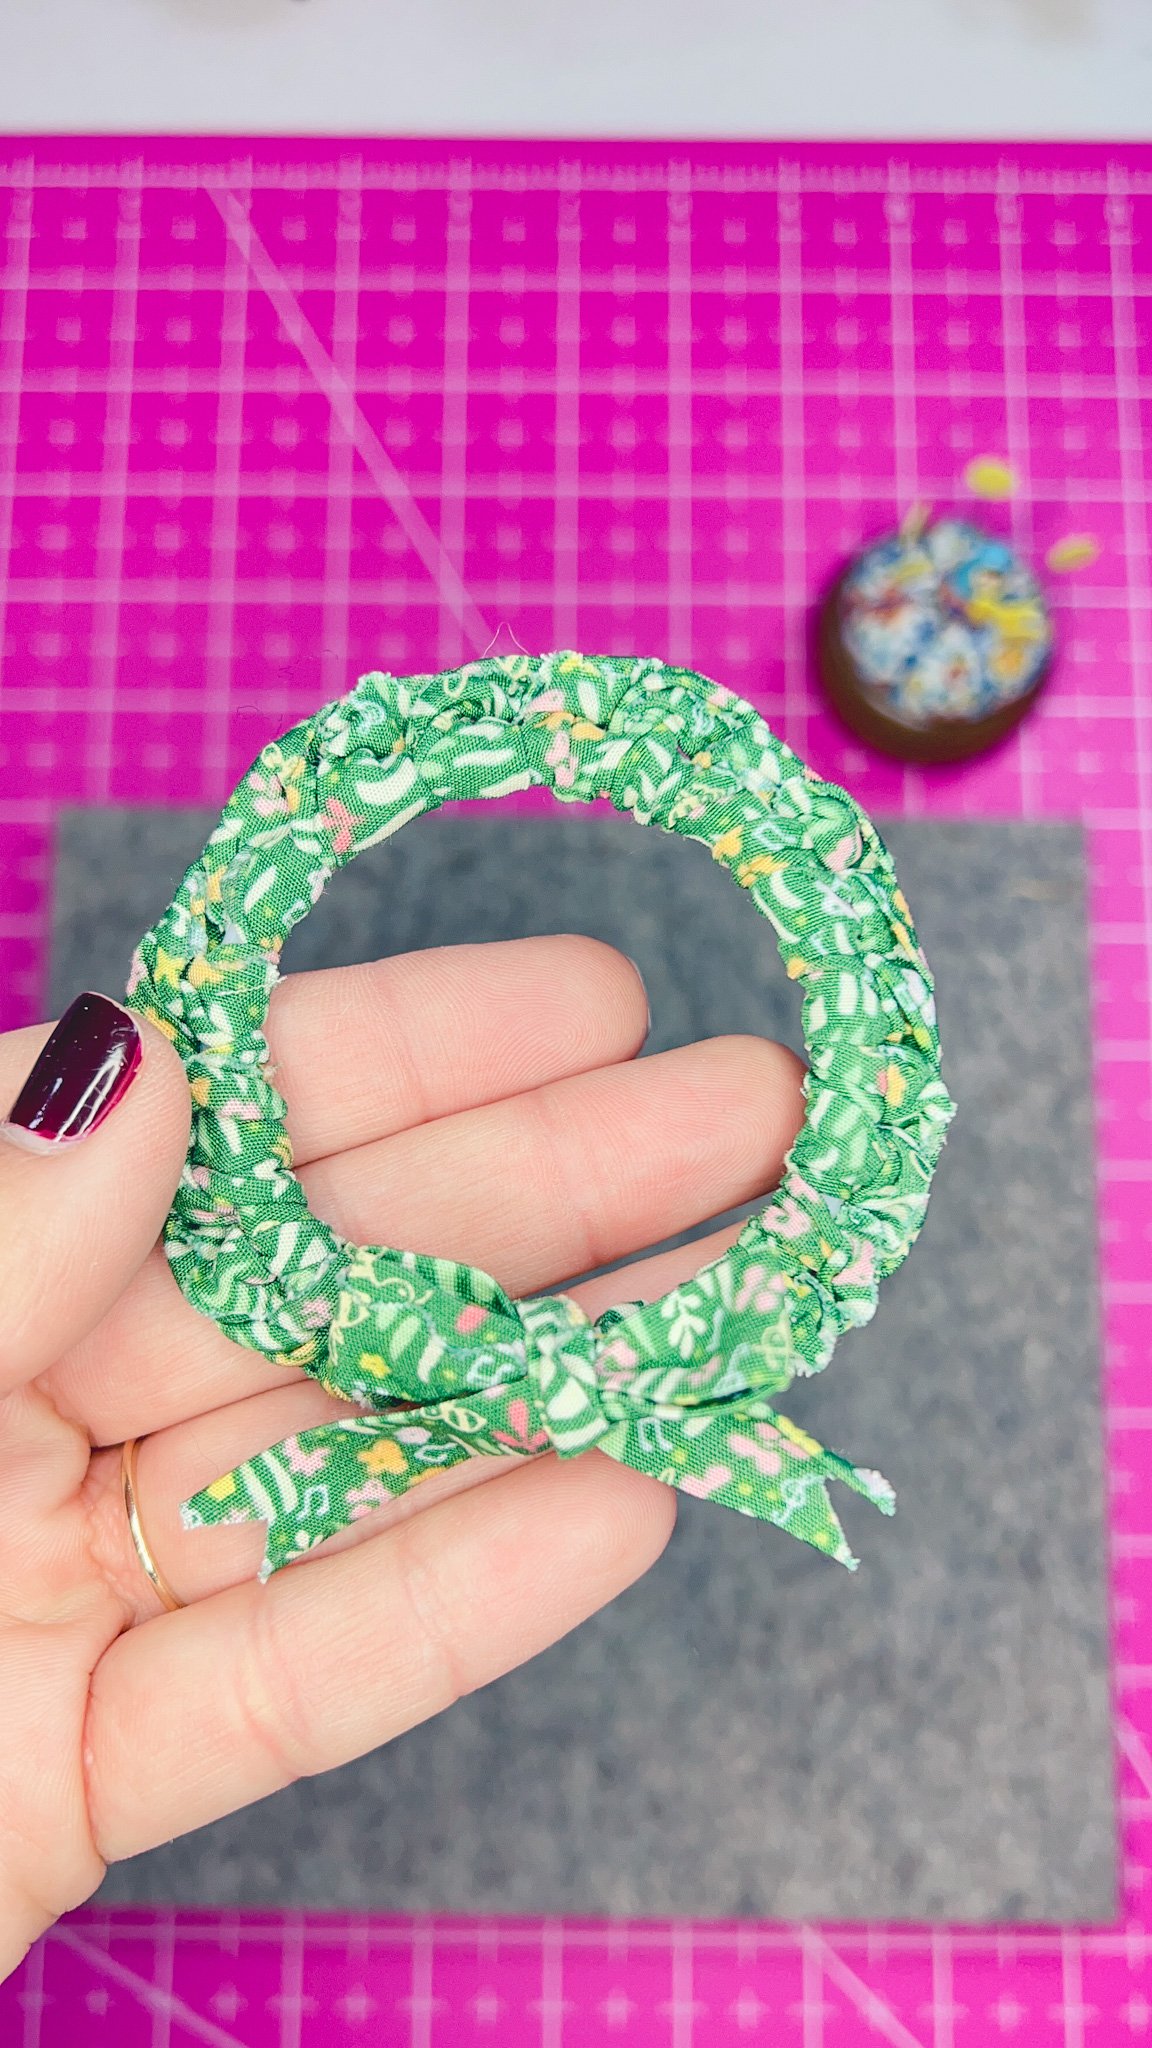
Finally the last step is to tie a bow with the piece left over and the one you pinned off to the side when we started, this might take a few tries. Once you have a bow shape you like cut off the ends to give the ends a nicer shape. Cut an A shape on the edge. You can add a thin plastic thread here to hang them on your tree or you can place them as they are on the edge of a branch. Another way these can be used are as napkin holders you can even make double for your ornaments to match you napkin holders these holidays! I hope you had fun making these with me if you have any questions make sure to let know. Have a wonderful holiday season! <3

Happy holidays!
Make sure to share pictures.